Workspace
Summary: The XBRUSH Workspace is the main creation screen where you generate images, videos, and audio, organize results in folders, and manage your assets. Access it by clicking Workspace in the top navigation bar.
Workspace Layout
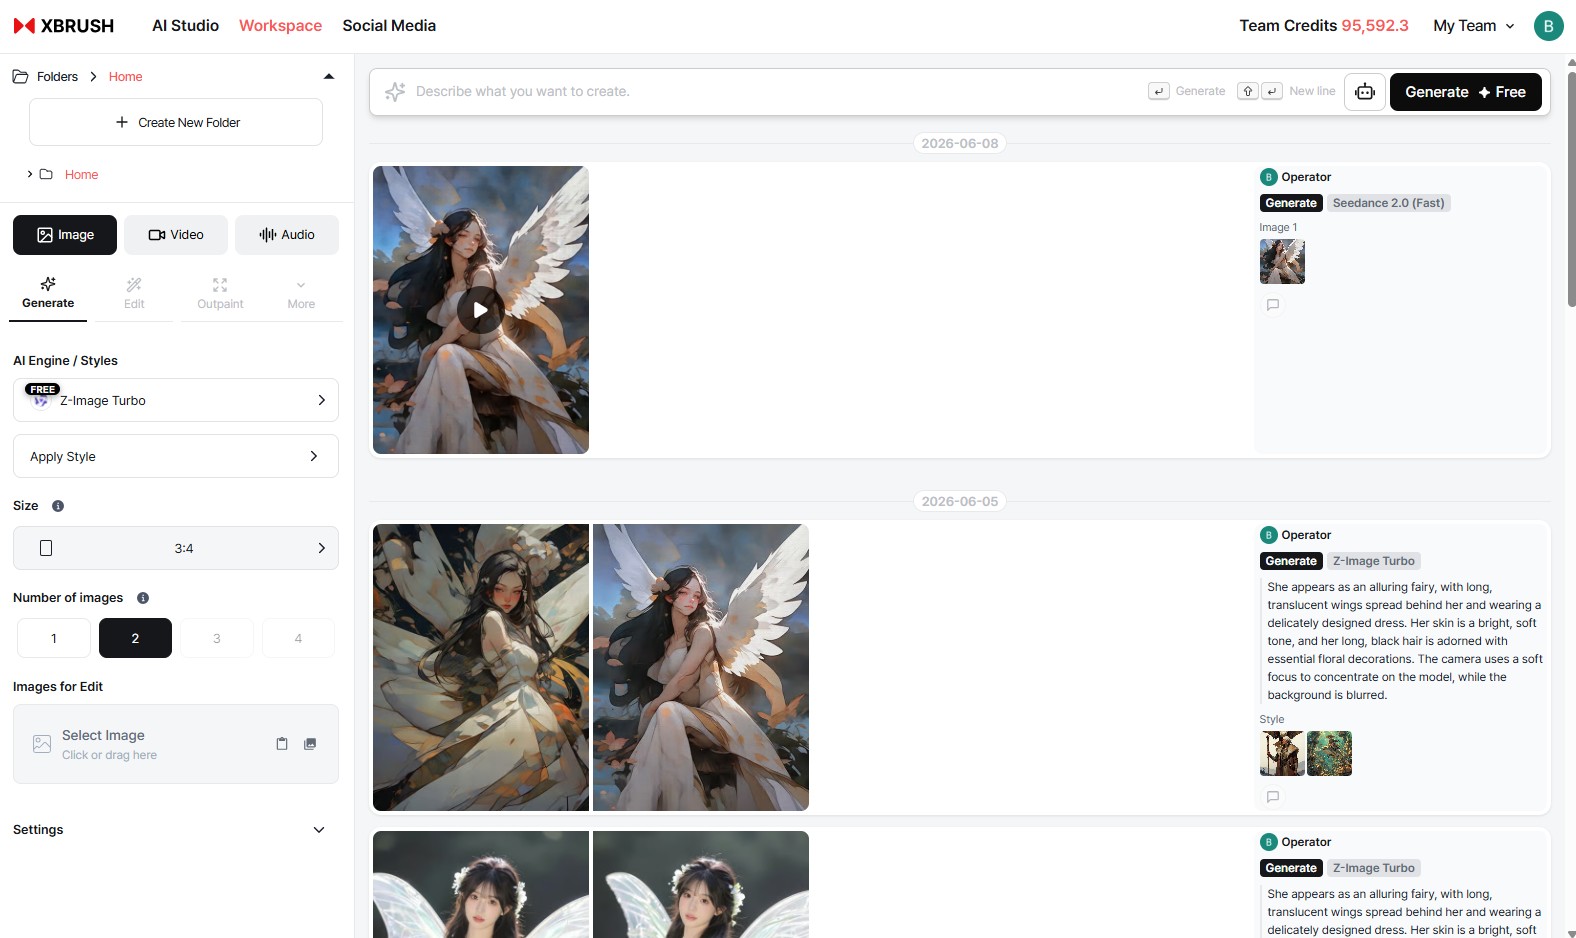
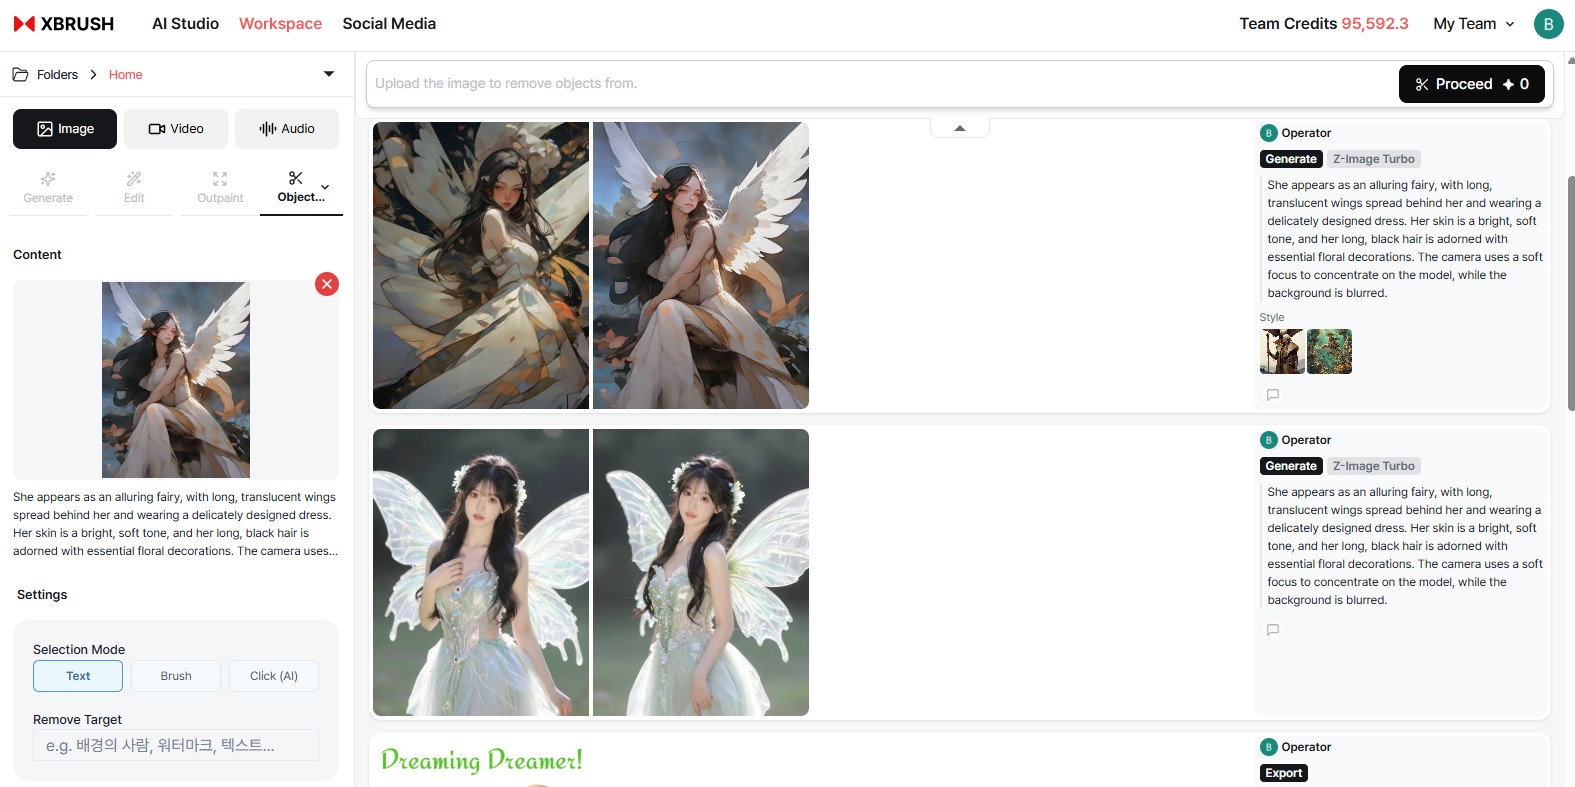
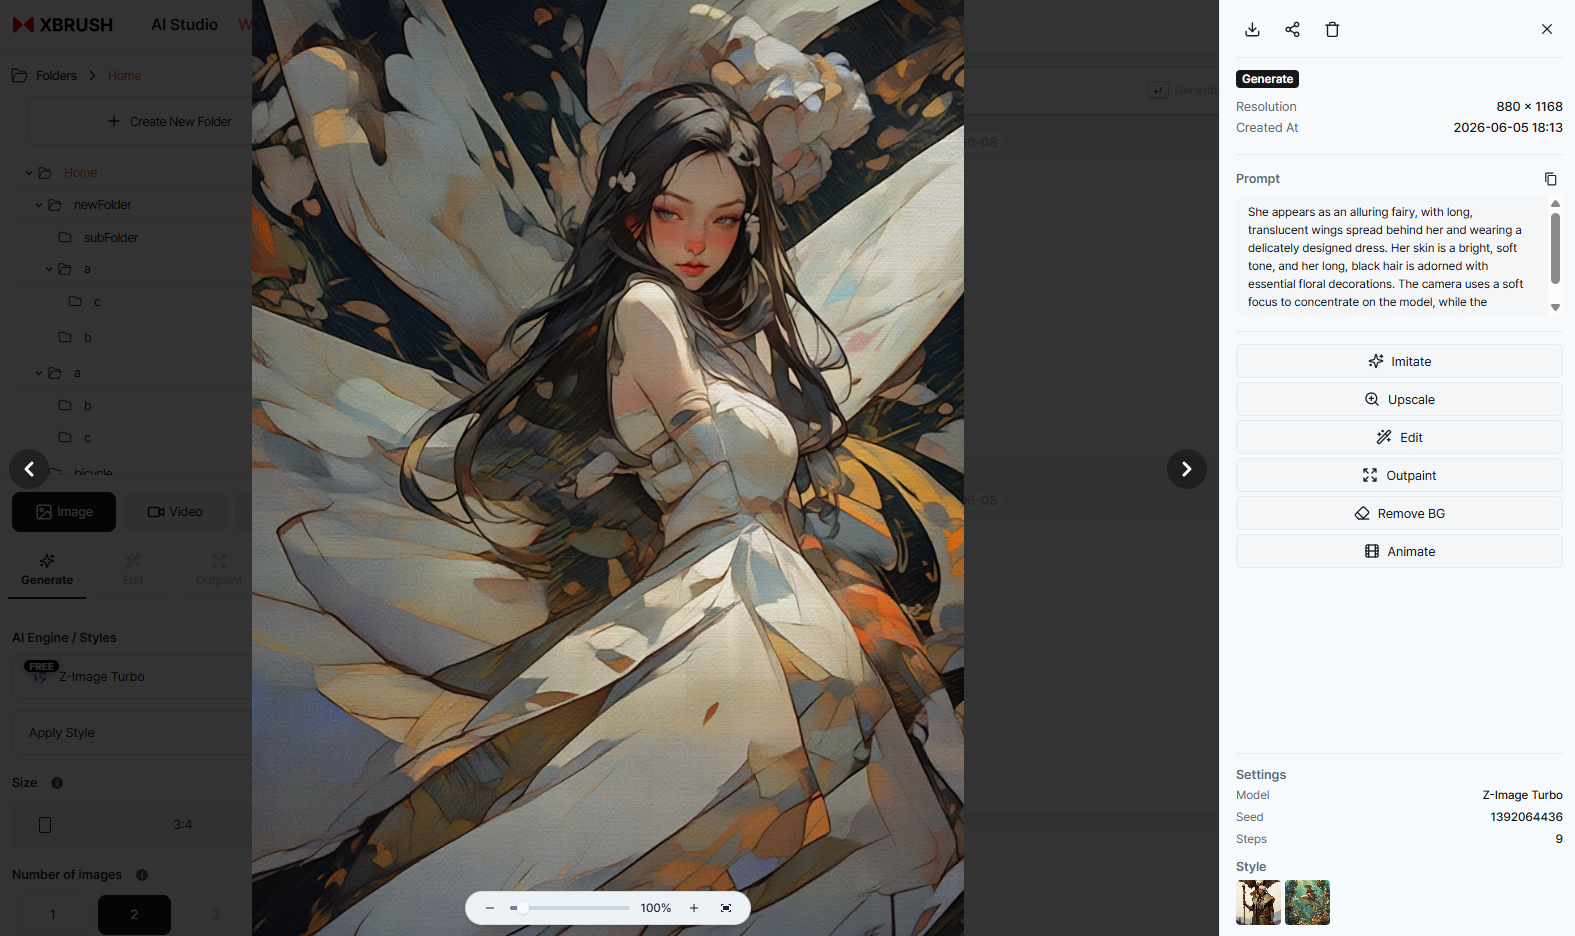
The full layout of the workspace (xbrush.ai/workspace).
The workspace consists of three areas.
| Area | Location | Role |
|---|---|---|
| Control Panel | Left | Select content type and feature tabs, configure generation options |
| Prompt Input | Top center | Enter prompts and trigger generation/execution |
| Results Feed | Right | Displays generation results organized by date and task |
Content Type Tabs
Select Image / Video / Audio from the top of the control panel.
- The settings options in the left panel and the prompt input change based on the selected tab.
- The results feed displays all generated content together, sorted by date.
Image Tab — Generate
The settings panel for Image tab → Generate mode.
AI Engine / Style
- Select the AI engine to use. Default: Z-Image Turbo
- Use the Apply Style button to apply an additional style model.
Image Size
- Select the aspect ratio for the generated image (e.g., 3:4, 1:1, 16:9).
Number of Images
- Choose how many images to generate at once: 1–4.
- Higher numbers consume more credits.
Reference Image
- Upload or drag in a reference image, and the AI will use it as a visual reference during generation.
Settings (Advanced)
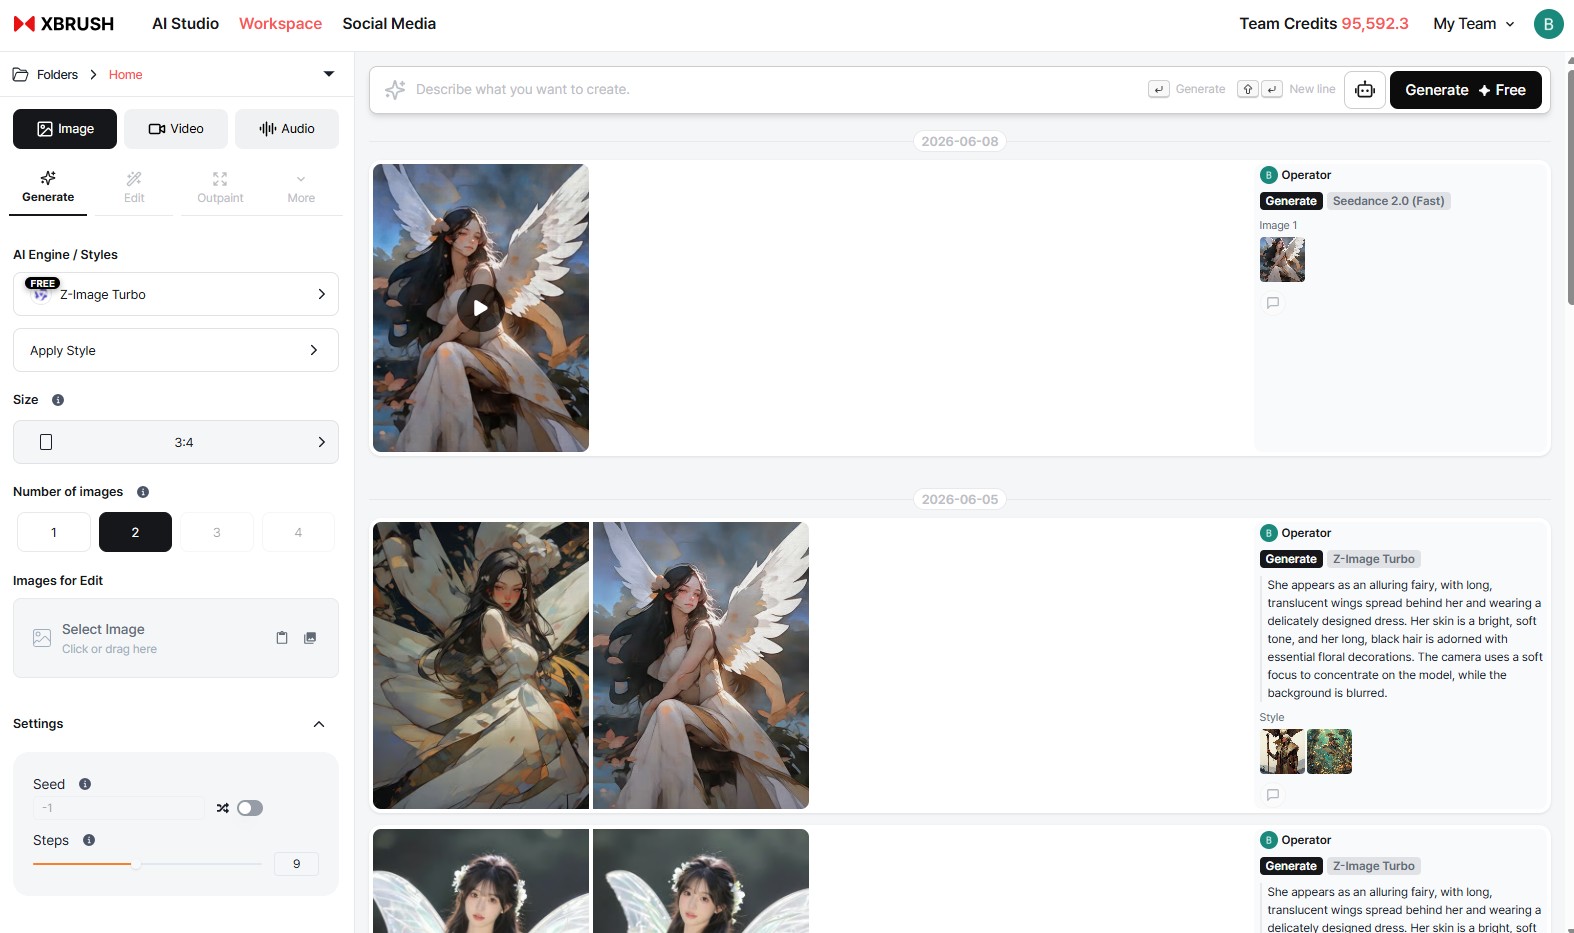
Expanding the Settings section lets you adjust the seed and sampling steps.
| Option | Description |
|---|---|
| Seed | Default -1 (random). Fix a specific number to reproduce identical results. Use the toggle on the right to switch between random and fixed. |
| Sampling Steps | Affects generation quality. Default 9. Higher values improve quality but increase generation time. |
Image Tab — Edit
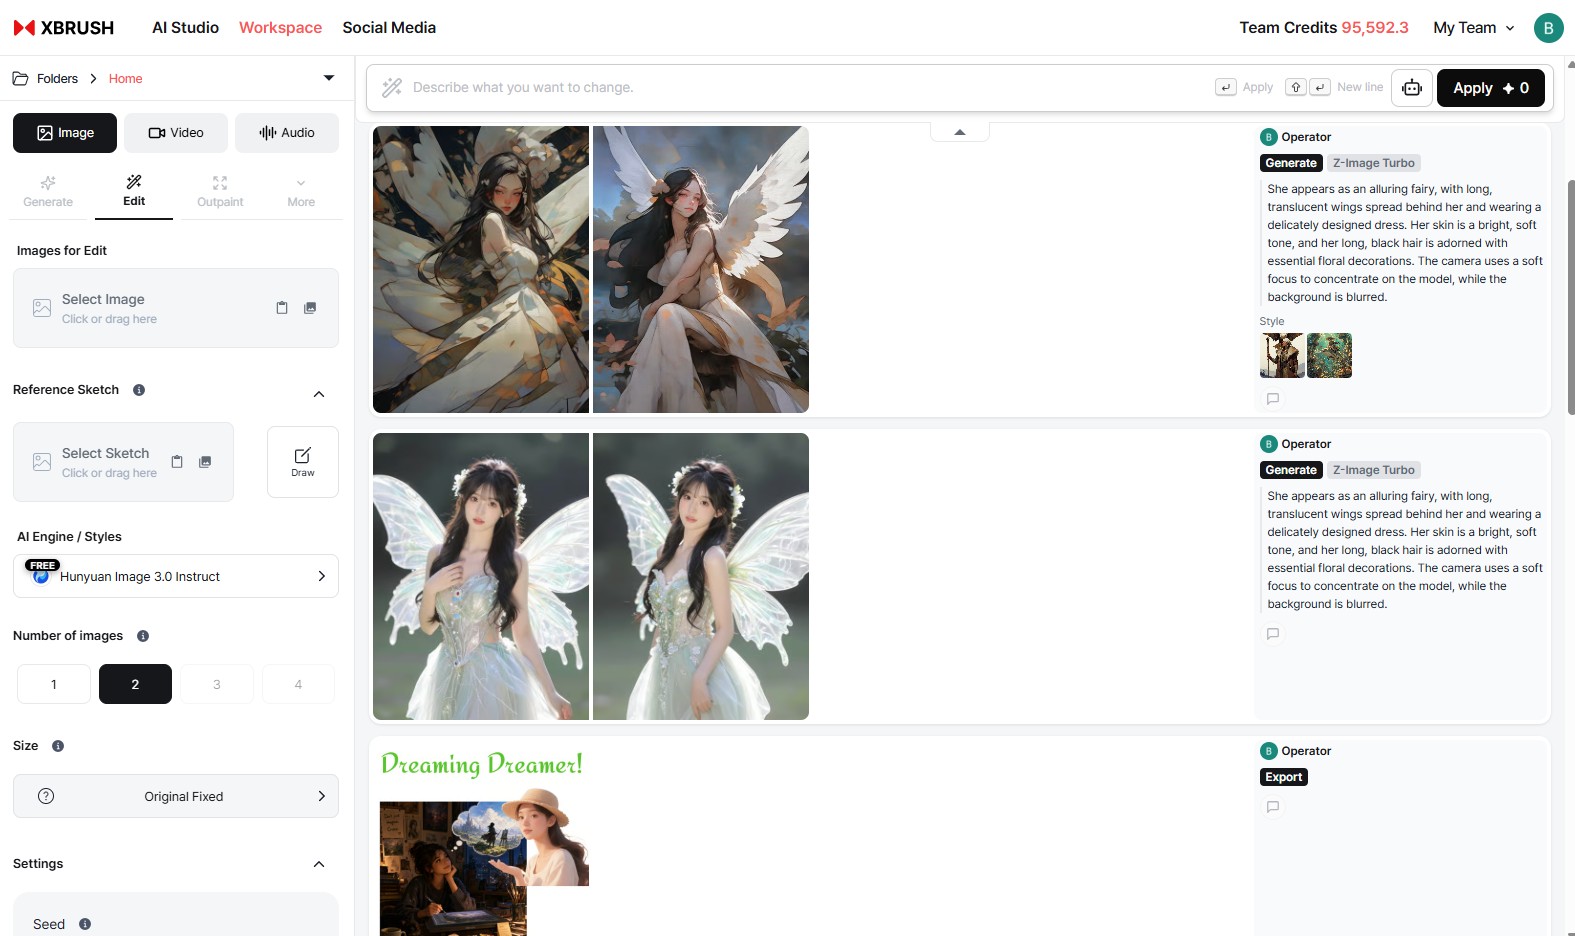
The Edit tab lets you modify existing images using AI.
How to Use
- Drag an image into the Image to Edit area, or hover over an image in the results feed and click the hover menu button.
- Enter what you want to change in the prompt input.
- Click the Run button.
Key Options
| Option | Description |
|---|---|
| Reference Sketch | Upload a sketch image or draw directly with the built-in drawing tool to guide the edit |
| AI Engine | Default Seadream 4.5 |
| Number of Images | Choose 1–4 |
| Image Size | Lock to original aspect ratio or select manually |
| Resolution | Choose 2K or 4K |
Image Tab — Outpaint
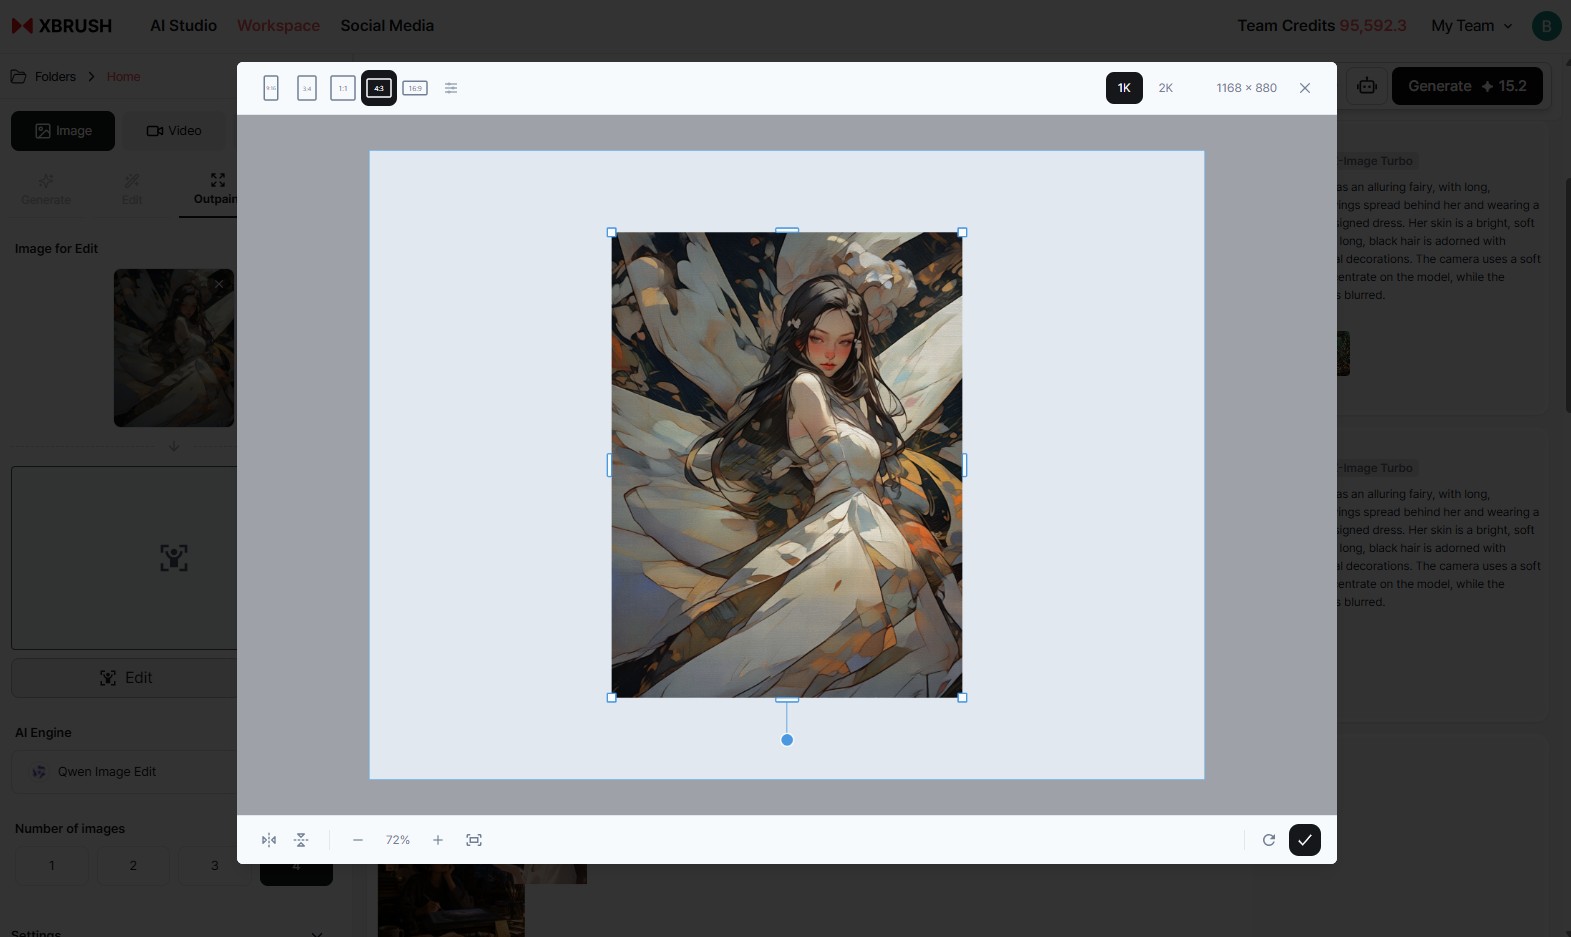
The Outpaint tab lets you expand the area outside an image using AI.
How to Use
- Upload an image to the Image to Edit area.
- Use the Edit button to define the area to expand.
- Describe what should appear in the expanded area using a prompt, then click Generate.
Key Options
| Option | Description |
|---|---|
| Edit | Define the mask for the expansion area |
| Reset Outpaint | Reset the defined expansion area |
| Clear All | Remove the uploaded image |
| AI Engine | Default Qwen Image Edit |
| Number of Images | 1–4 |
Image Tab — More Options
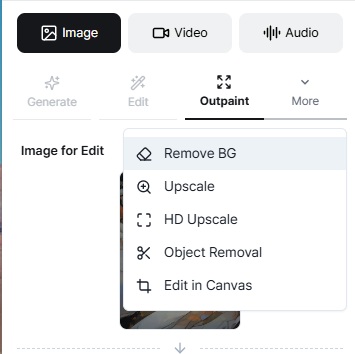
Additional image processing modes are accessible from the Image tab.
Image Tab — Background Remover
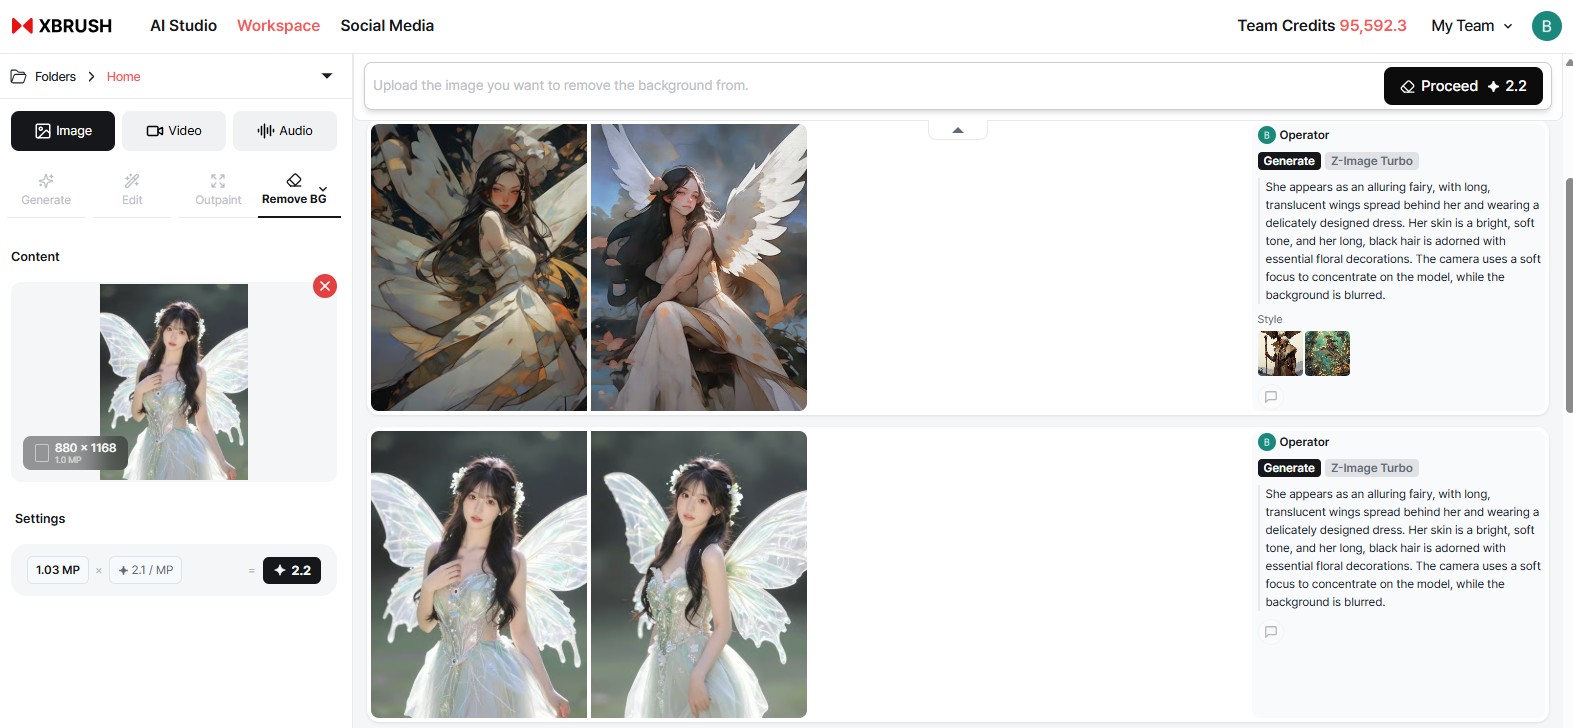
The Background Remover tab automatically removes the background from an uploaded image.
How to Use
- Upload an image to the input area.
- Click Run to remove the background automatically.
- The result appears in the results feed for download or further use.
Image Tab — Upscaler
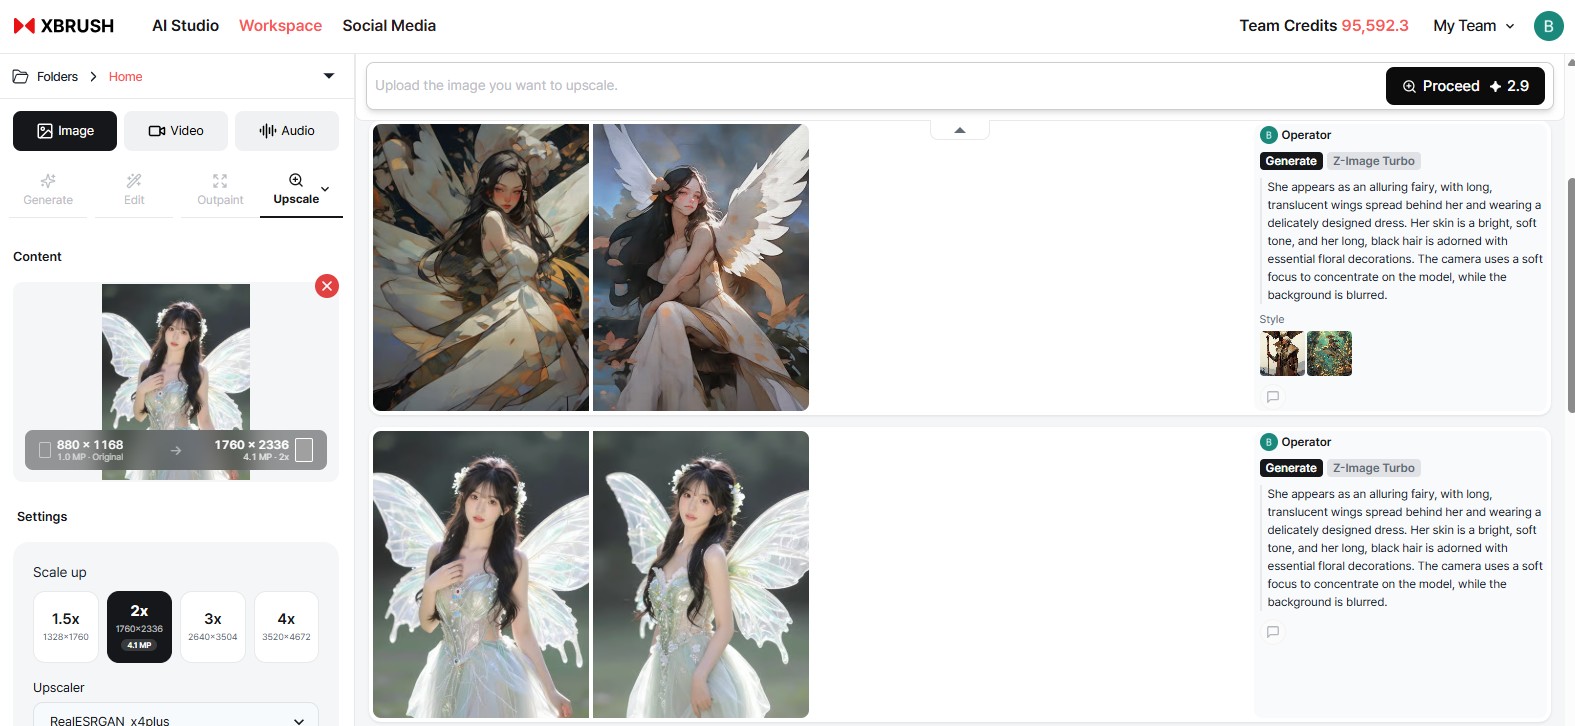
The Upscaler tab enhances the resolution of an uploaded image.
How to Use
- Upload an image to the input area.
- Select the upscale factor.
- Click Run to generate a higher-resolution version.
Image Tab — HD Upscale
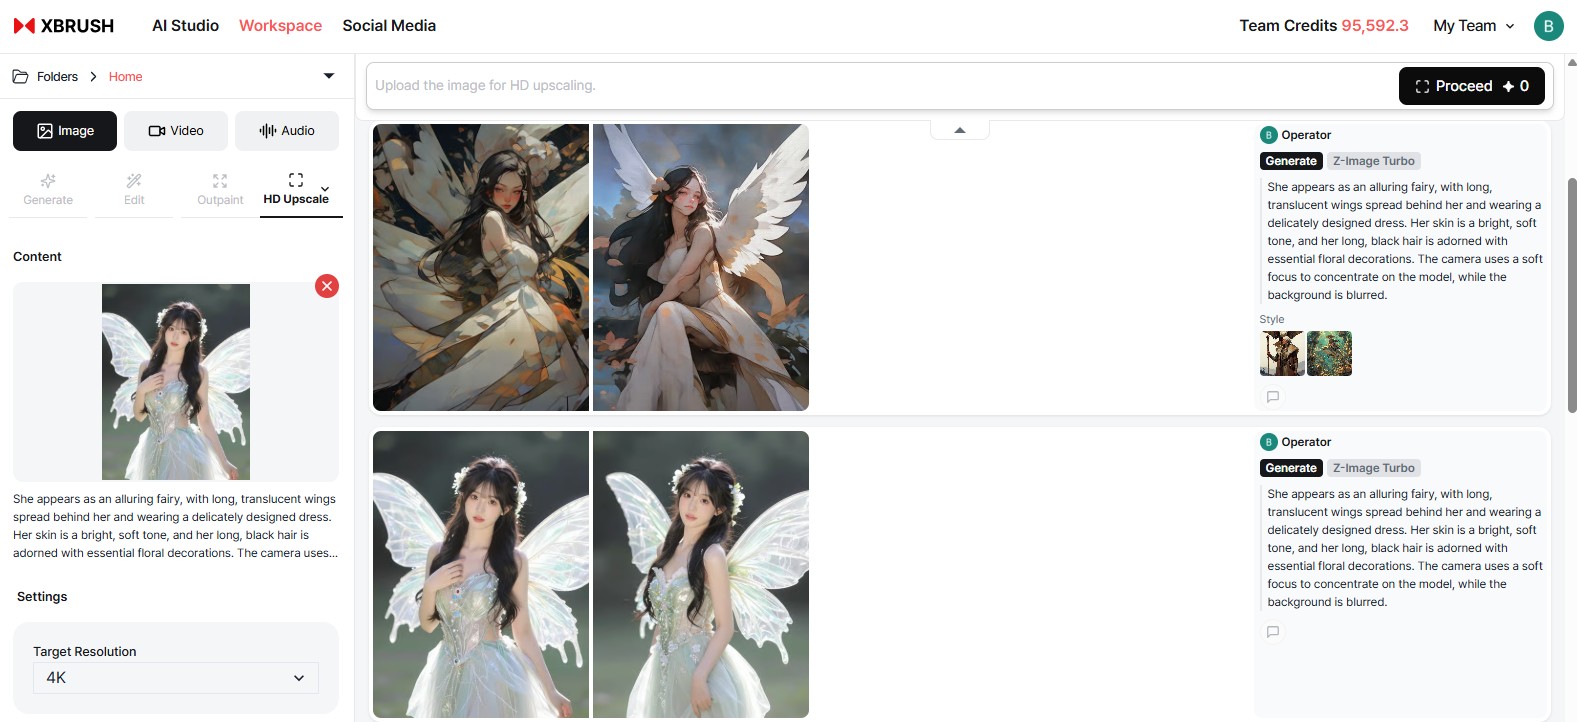
The HD Upscale tab upscales an uploaded image to HD quality.
How to Use
- Upload an image to the input area.
- Click Run to generate an HD-quality version.
Image Tab — Object Removal
The Object Removal tab removes selected objects from an uploaded image.
How to Use
- Upload an image to the input area.
- Select the object you want to remove.
- Click Run to generate the result with the object removed.
Video Tab
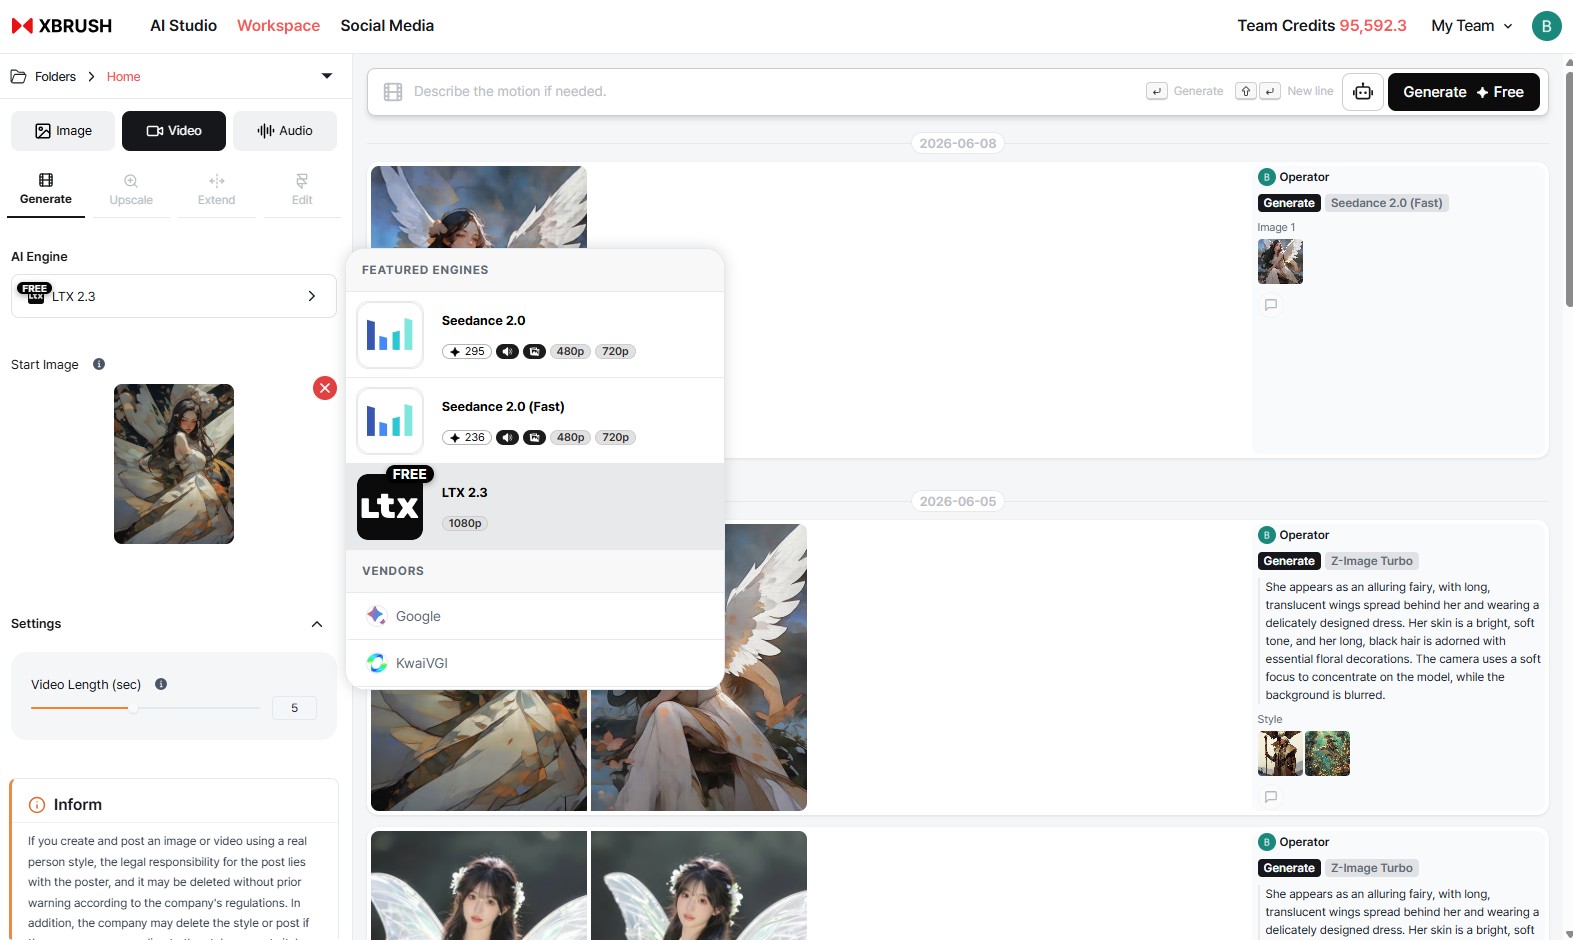
The Video tab lets you convert images into videos.
Key Options
| Option | Description |
|---|---|
| AI Engine | Default Kling v2.1 Pro |
| Resolution | Choose 480p / 720p / 1080p |
| Start Image | The image used as the first frame of the video (required) |
| End Image | The image used as the last frame of the video (optional) |
| Prompt Relevance | Slider from 0 (creative) to 1 (precise), default 0.5 |
| Video Length | Slider in seconds, default 5 seconds |
- Enter a description of the motion you want in the prompt input.
- For more details, see the Video Generation page.
Audio Tab
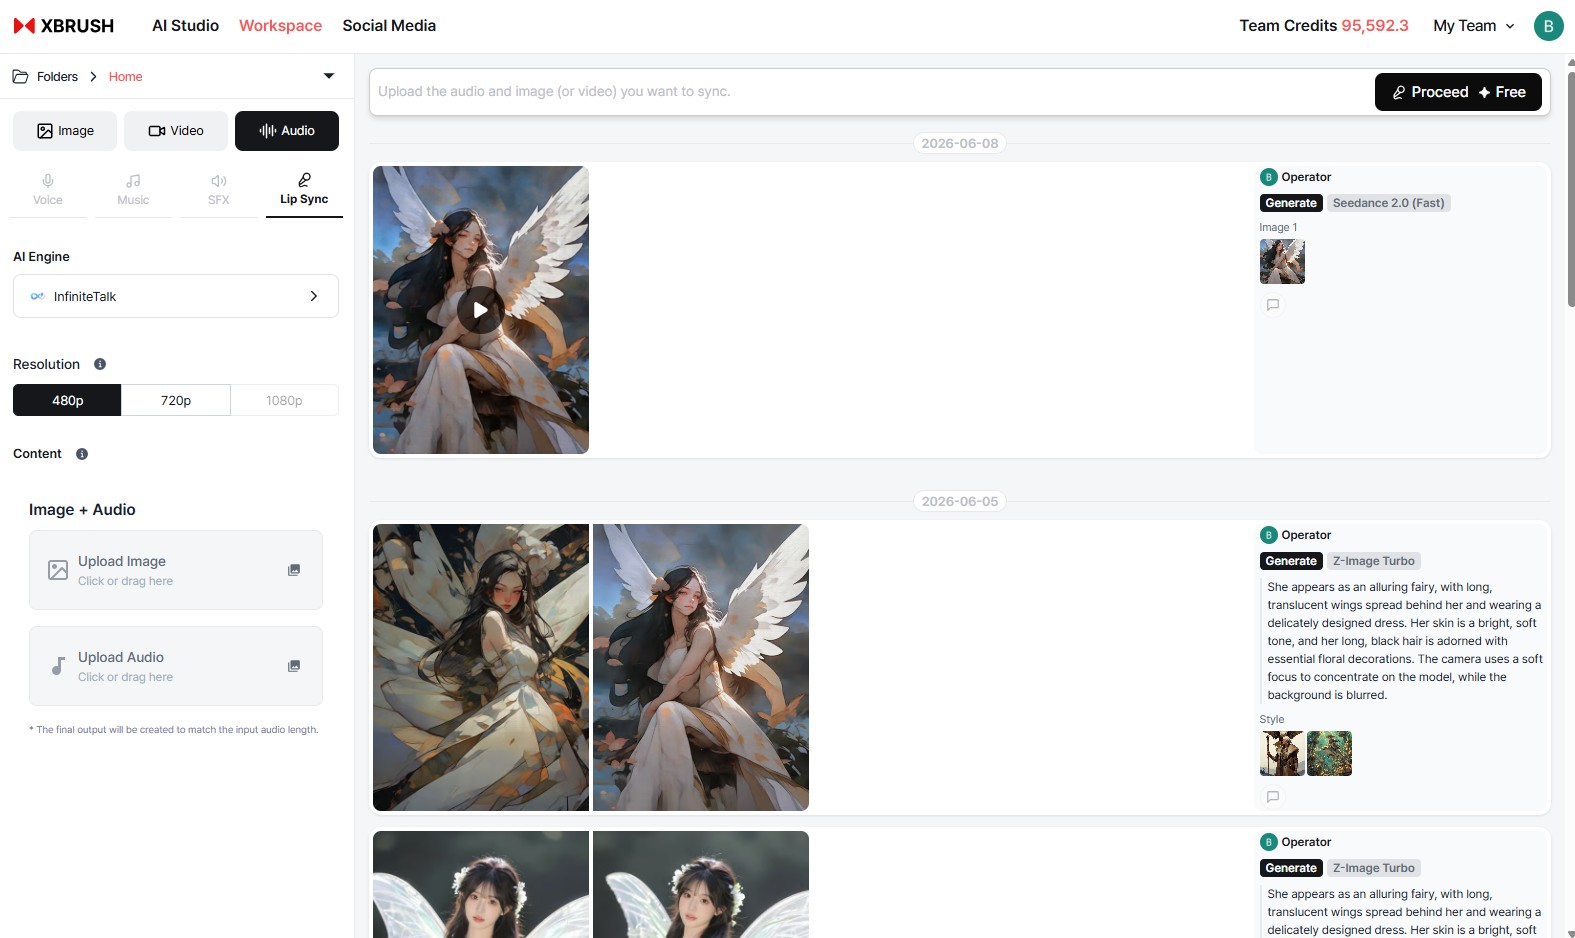
The Audio tab lets you generate voices, music, sound effects, and lip sync.
The Audio tab has four sub-tabs.
| Sub-tab | Description |
|---|---|
| Voice | Convert text to speech (TTS) |
| Music | AI music generation |
| Sound Effects | AI sound effect generation |
| Lip Sync | Apply voice lip sync to an image or video |
Voice Tab — Voice Selection
| Voice | Characteristics |
|---|---|
| Deoksoo | Upbeat, clear, and rich male voice |
| Jangho | Serious, husky, and restrained male voice |
| Jenny | Female voice in a narration style |
| Jaesung | Diplomatic and measured male voice |
| Jisu | Warm, clear, and restrained female voice |
- Expand Advanced Settings to adjust detailed parameters such as speed and pitch.
- For more details, see the Audio Generation page.
Folder Structure
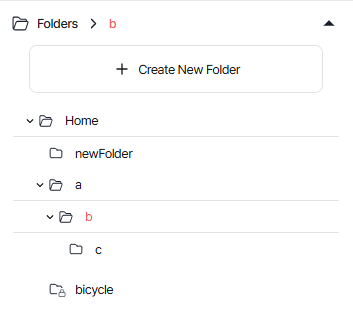
The folder navigation is located at the top of the control panel.
- The Folder > Home path is displayed; click to navigate to the parent folder.
- Click the right arrow icon to expand the folder list.
- Use "+ Create New Folder" to add a folder.
Creating a Folder

- Click "+ Create New Folder" to display an input field at the bottom of the home folder.
- Enter a name and press Enter to create the folder.
Creating a Subfolder

- Each folder has a folder icon and a trash icon on the right.
- Click the folder icon to add a new folder inside that folder.
Renaming a Folder
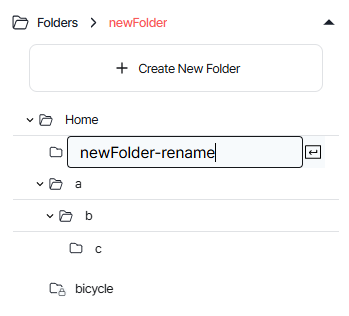
- Click a folder to highlight its name in red.
- Click the name again while it is highlighted in red to activate edit mode.
Moving a Folder
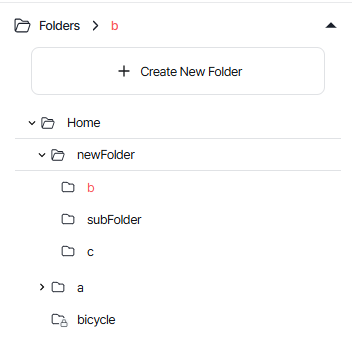
- When a folder name is not highlighted in red, hover over it to see the cursor change to a hand pointer.
- Click and drag to move it to a different location.
Deleting a Folder
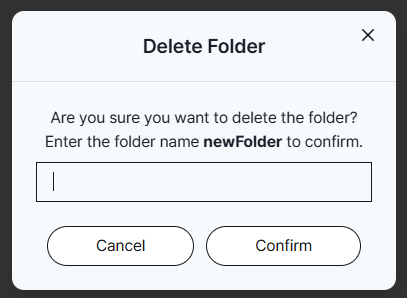
- Click the trash icon to the right of the folder.
- Enter the folder name in the confirmation popup and confirm.
- Deleting a folder does not delete the images inside it — they remain in the home folder.
Asset Management
A task is a unit of content generated at once using the same settings.
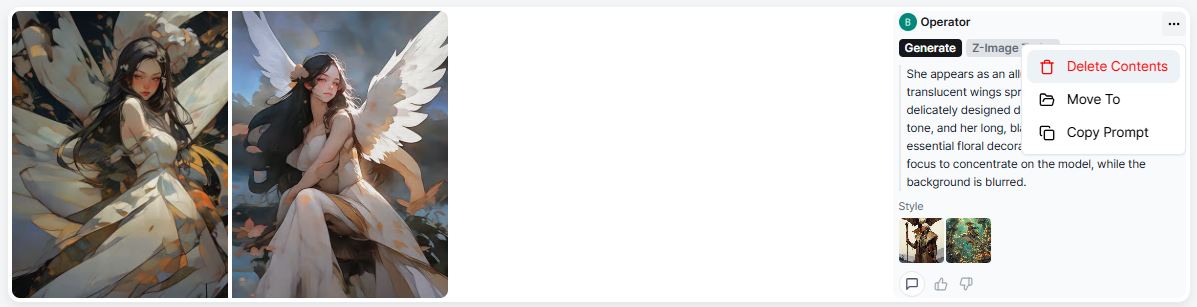
- The prompt and AI engine used are displayed to the right of each task.
- Copy Prompt icon: Pastes the prompt into the input field for regeneration.
- Trash icon: Deletes the entire task.
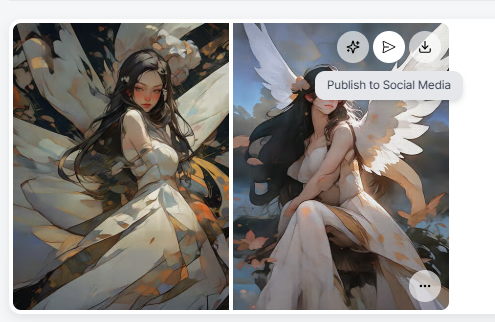
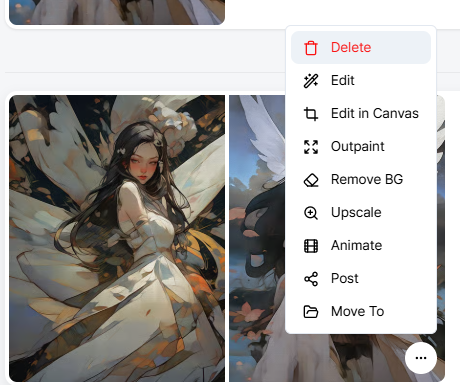
Hovering over or clicking an individual image reveals action buttons.
| Action | Description |
|---|---|
| Mimic | Regenerate a similar image using the same settings |
| Edit | Load the image into the Edit tab for modification |
| Edit on Canvas | Edit in the layer editor |
| Download | Save the image file |
| Publish | Make the image public on the marketplace |
| Delete | Delete the individual image |
Task Comments
Members can leave comments on individual generation tasks within the team workspace. This is useful for providing feedback or notes on specific outputs without leaving the platform.
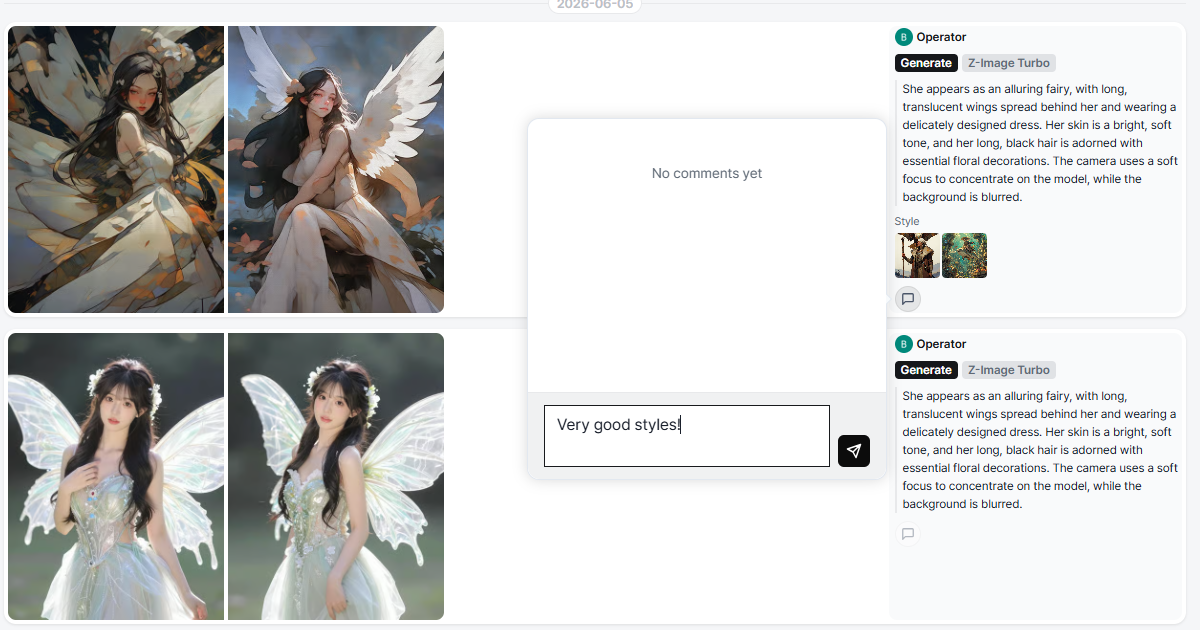
Leaving a comment on a task
- Click on any task in the team results feed to open the detail view.
- Click the comment icon or the "Add Comment" field at the bottom of the task detail.
- Type your comment and press Enter to post.
- All team members can view and reply to comments on shared tasks.
Sharing Settings
- Sharing is done at the team level in Team Settings.
- See the Team Management page for details on inviting members and managing roles.
Labels
Labels help you organize generated content within your workspace. You can apply labels to individual images or videos to categorize them by project, style, or status.
Top section of the action menu that appears when hovering over or clicking an image.
Bottom section of the image action menu, where the label option is located.
- Hover over any image or video in the results feed to open the action menu.
- Select "Add Label" from the bottom of the action menu.
- Type a label name or select an existing one from the list.
- To filter content by label, click the label tag in the folder or results feed view.
- Labels are personal — they are only visible to you and are not shared with other team members.
Next Steps
- Image Generation — Detailed image generation guide
- Video Generation — Detailed video generation guide
- Audio Generation — Detailed audio generation guide