Video Editor (Timeline Editor)
Summary: The XBRUSH Video Editor is a timeline-based tool for assembling AI-generated media into polished video projects. Create a project, import images or videos from your XBRUSH library, arrange clips on the timeline, adjust clip settings, and export the finished video.
What Is the Video Editor?
The Video Editor is XBRUSH's timeline-based editing tool for compositing AI-generated images and videos into complete video projects. Clips are arranged on a multi-track timeline, and each clip can be individually adjusted for speed, layout, volume, and text overlays.
The Video Editor is accessible from the top navigation under Ad Generator, or via the Editing Studio after generating a video through Cinema.
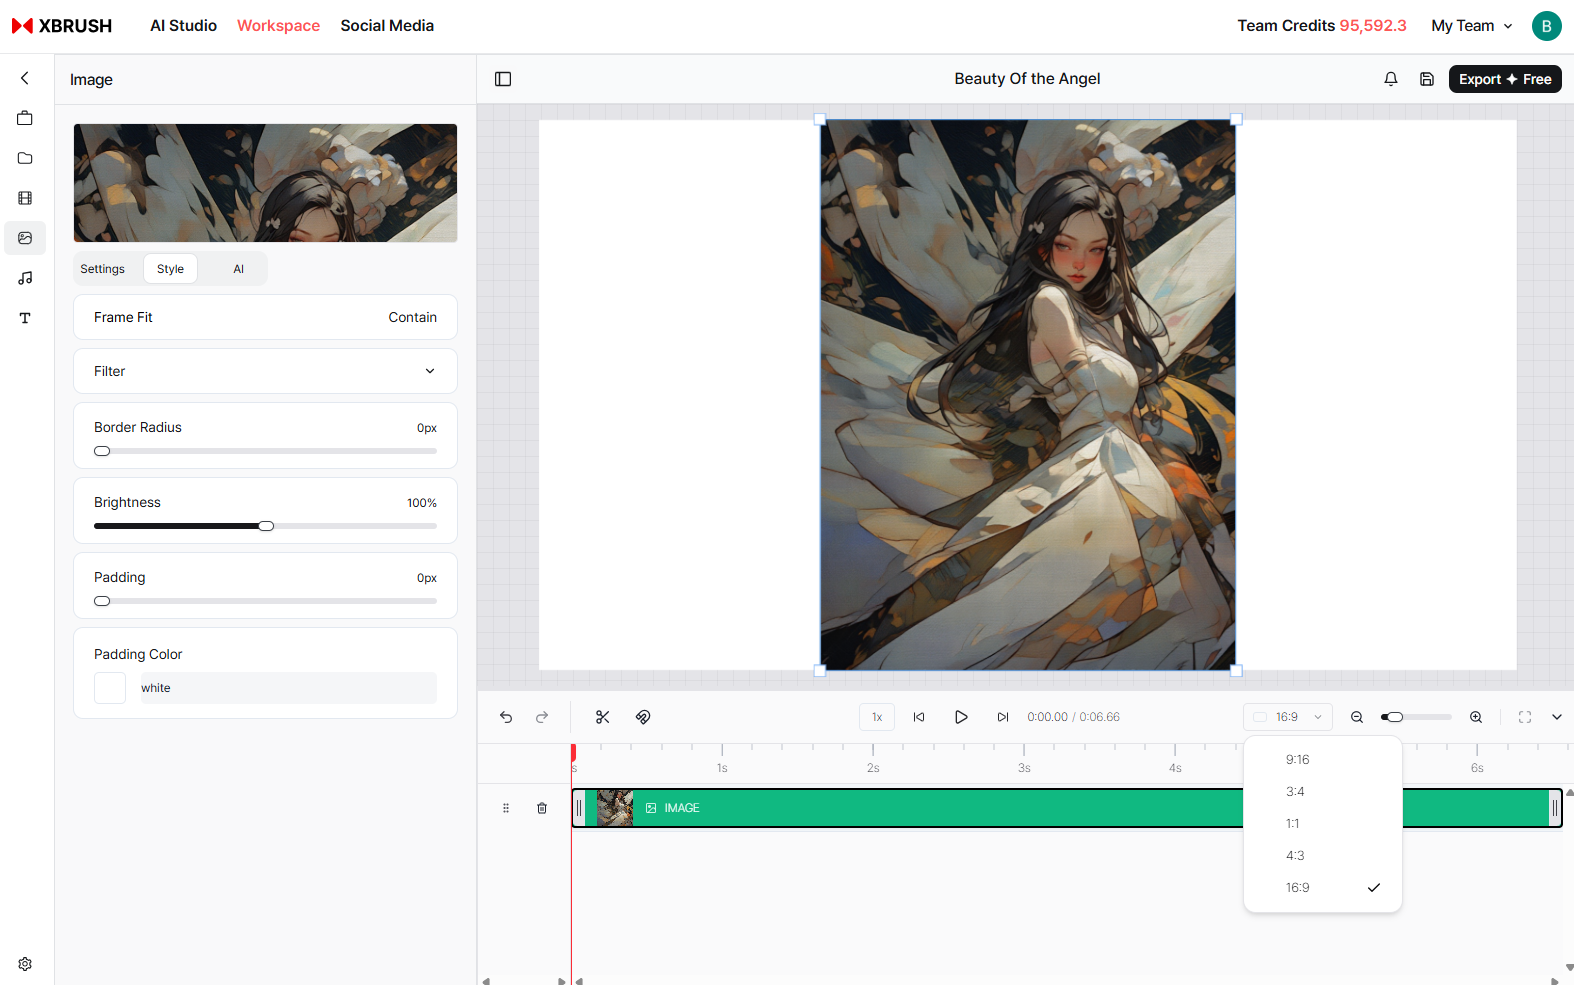
Interface Overview
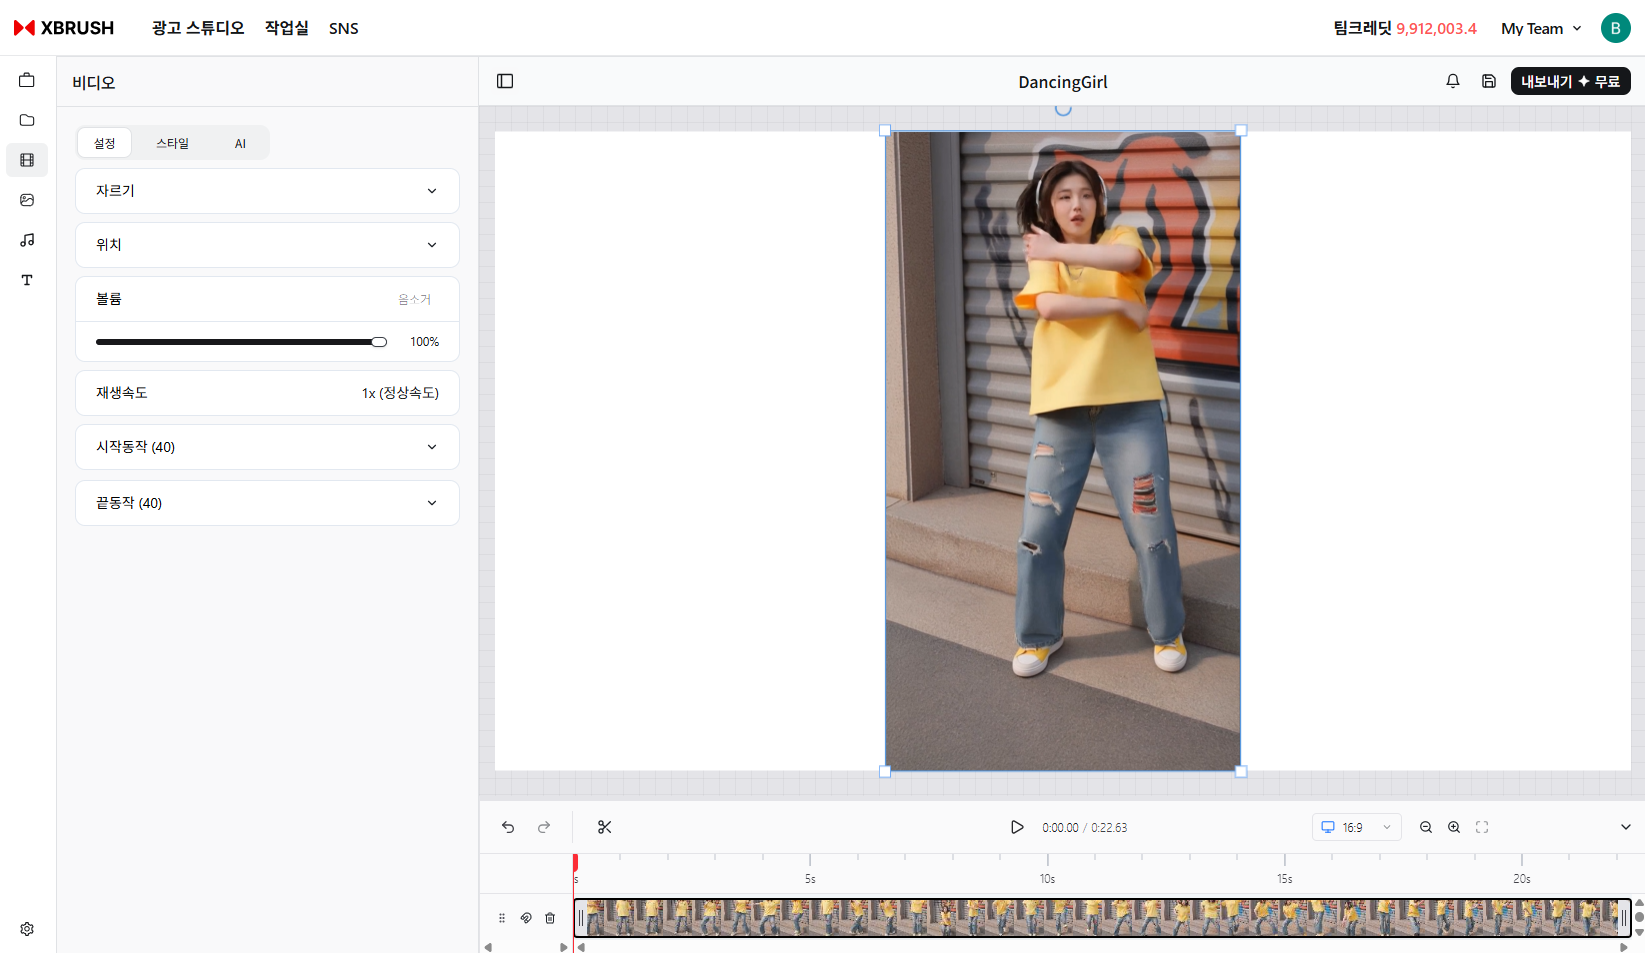
The Video Editor with a project loaded — left panel shows clip settings, center shows the preview, and the bottom shows the timeline.
The editor is divided into three main areas:
| Area | Description |
|---|---|
| Left Panel | Tabs for Project, Media, Layers, Music, and Text. Shows clip-specific settings when a clip is selected on the timeline. |
| Center Canvas | Preview area displaying the current frame at the playhead position. |
| Bottom Timeline | Multi-track timeline for arranging clips, with playback controls and a time ruler. |
Creating a New Project

Empty Video Editor — no projects exist yet.
- Open the Video Editor from the top navigation.
- In the Project tab on the left, click Create New Project.
- Enter a project name to create your project.
Importing Media
After creating a project, you need to import media from your XBRUSH library.
Step 1 — Open the import prompt
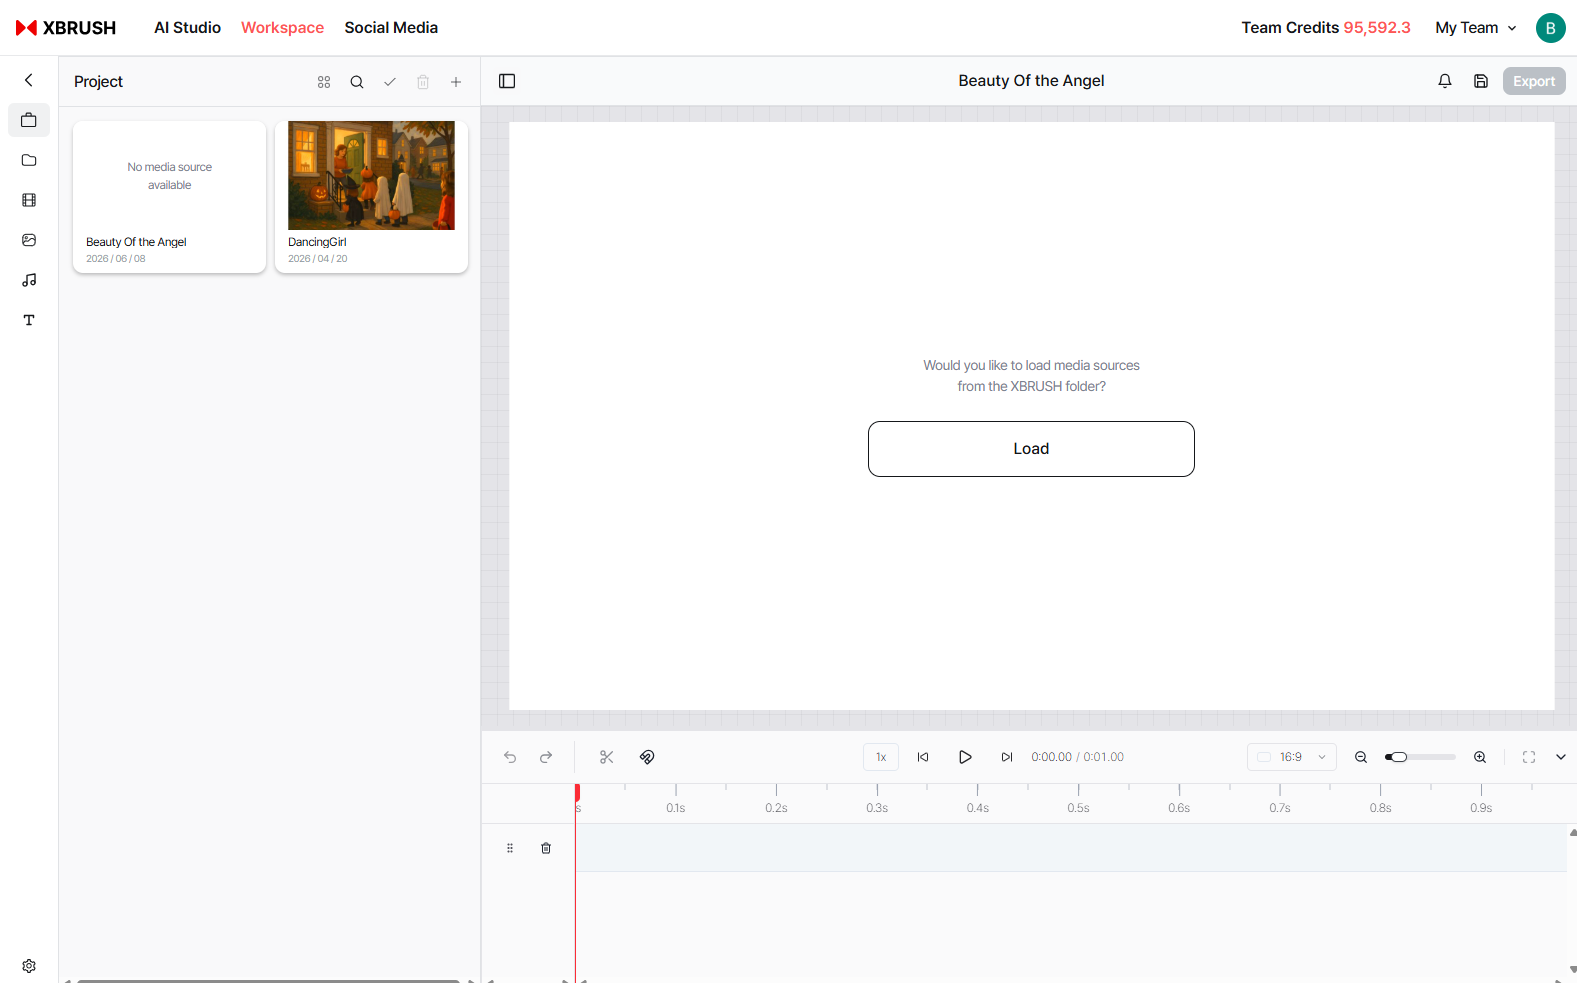
The canvas prompts you to import media from your XBRUSH folder.
Click Import on the canvas to open the media browser.
Step 2 — Select media from your library
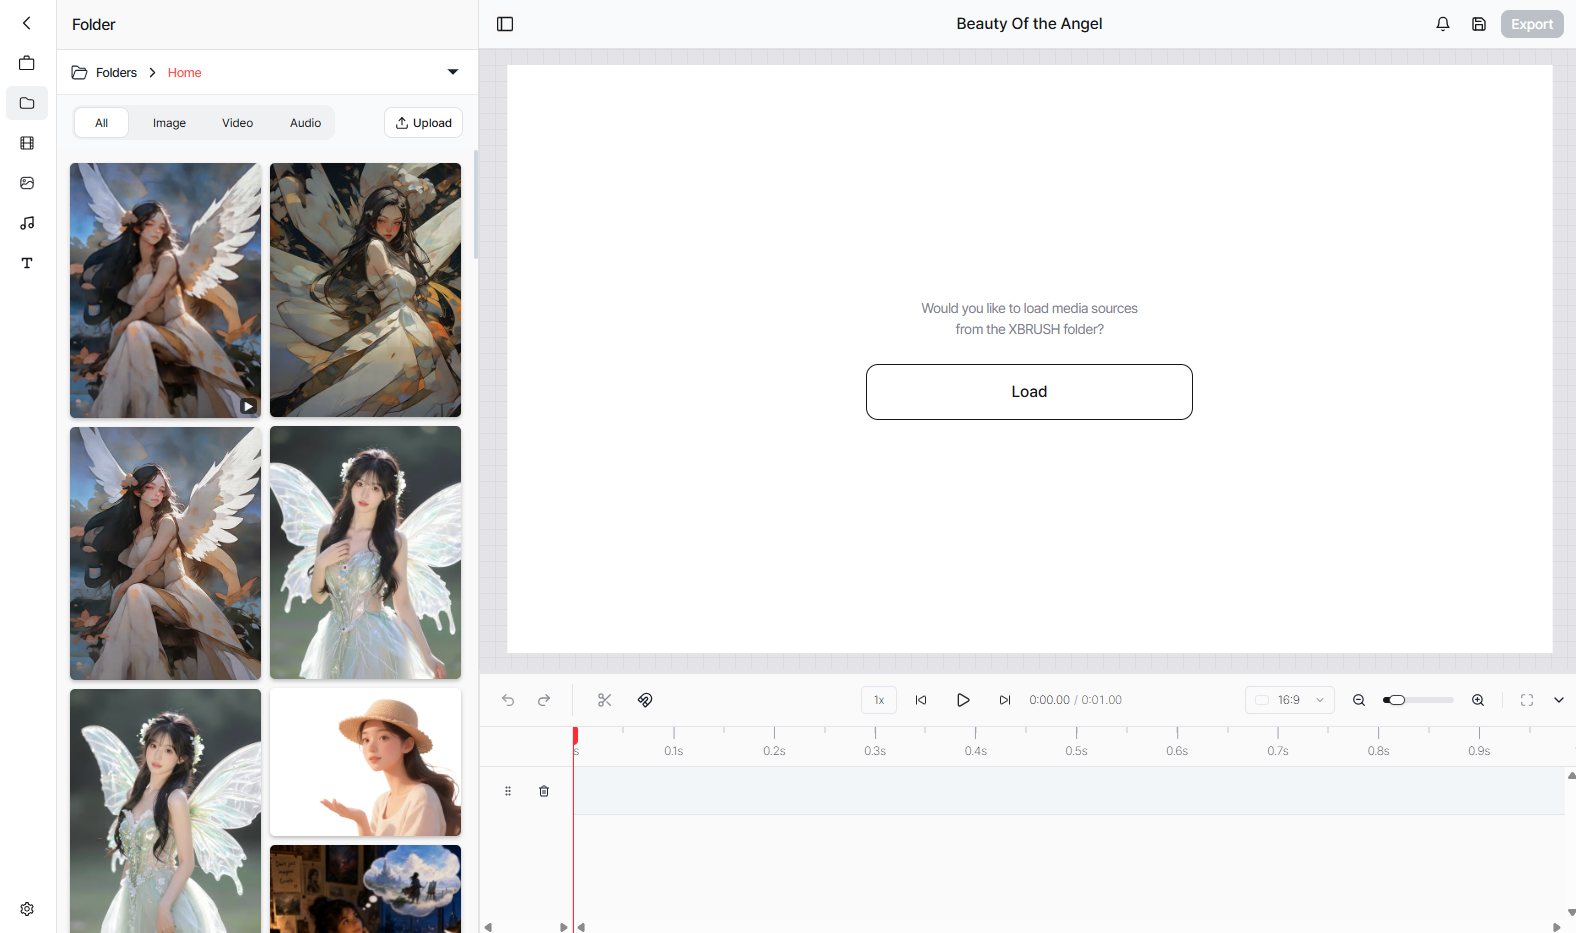
Browse AI-generated images and videos from your XBRUSH library and click to select.
Switch between the image and video tabs to locate the asset you want. Click a thumbnail to select it.
Step 3 — Confirm the import
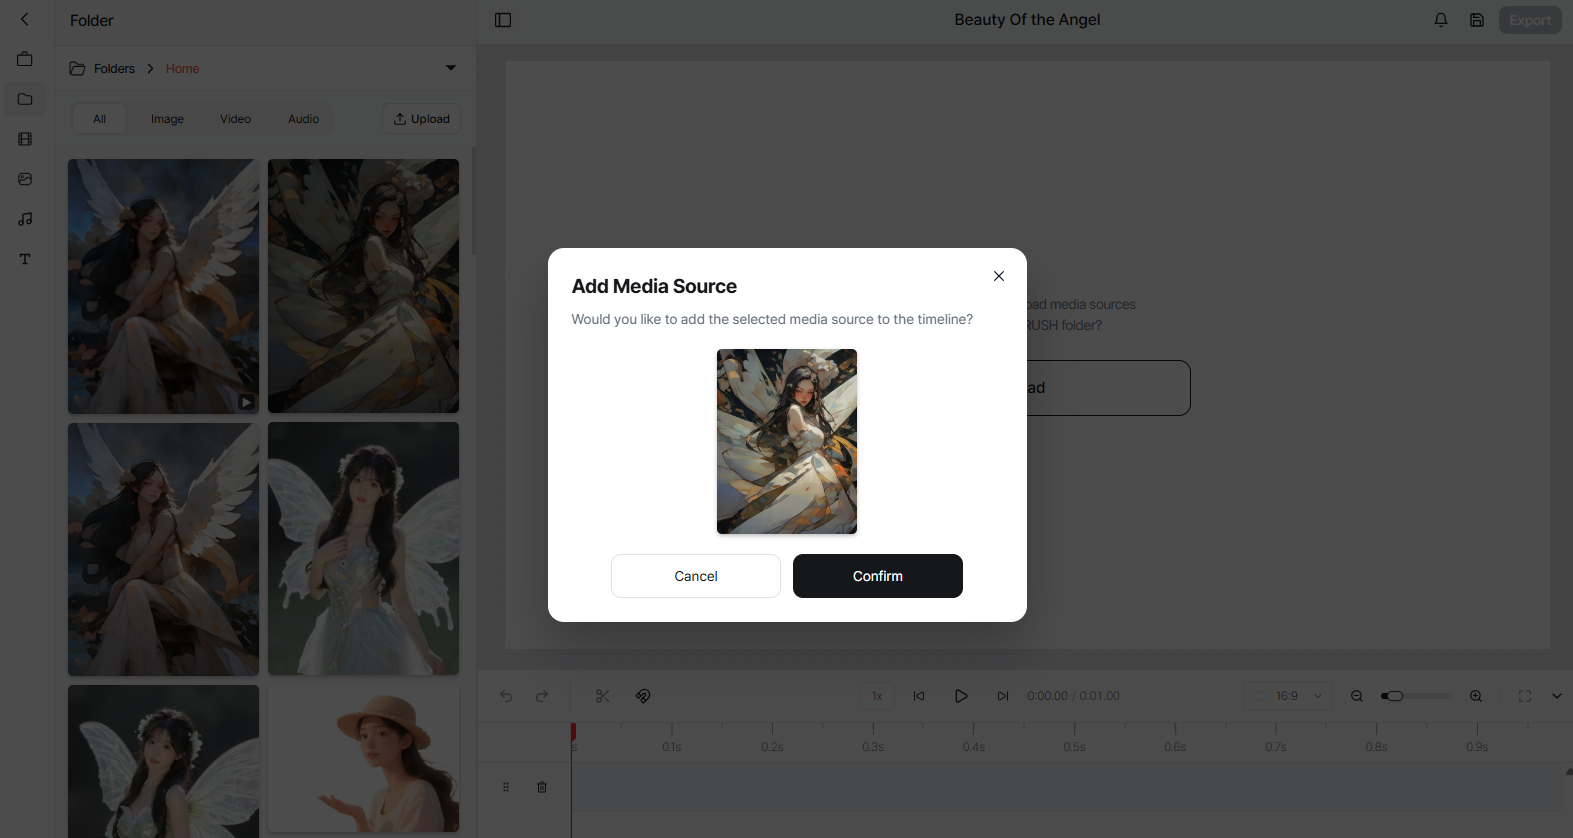
A preview of the selected media is shown before it is added to the timeline.
Review the preview thumbnail and click Confirm to add the media to the timeline. Click Cancel to go back.
Clip Settings
Clip settings panel and timeline context menu.
When a clip is selected in the timeline, the left panel displays the following clip-specific settings:
| Setting | Description |
|---|---|
| Background | Sets the background image displayed behind the clip |
| Layout | Switches between Layout and Skin sub-options for clip framing |
| Volume | Adjusts the audio level of the clip |
| Speed | Controls playback speed of the clip |
| Image Retention | Sets the proportion of time the still image is held within the clip |
| Rectangle Size | Adjusts the size of caption or overlay rectangles |
| Font Size | Sets the font size for text overlays on the clip |
Timeline Controls
The toolbar along the bottom of the timeline provides the following controls:
| Control | Description |
|---|---|
| Undo / Redo | Revert or reapply the last action |
| Cut | Splits the selected clip at the playhead position |
| Speed (1×) | Sets overall playback speed for preview |
| Playback | Play, pause, skip to start, or skip to end |
| Timestamp | Displays current playhead position / total project duration |
| Aspect Ratio | Switch between 16:9, 9:16, 1:1, and other ratios |
| Zoom | Zoom in or out on the timeline track |
Exporting the Video
When your project is ready, click Export in the top-right corner to render and download the final video file.