Publish Images
Summary: Publishing makes your AI-generated image visible to all XBRUSH users in the community gallery. Submit a publish request, wait for admin approval, then your image goes live — fully searchable by tags and categories.
What is Publishing?
Publishing in XBRUSH is the process of making a generated image publicly visible in the XBRUSH Gallery — a community feed of AI-created content discoverable by all users. Once published and approved, your image can be viewed, liked, and imitated by other creators.
All publish requests go through an admin review before going live. Images are not published automatically.
How to Publish an Image
Step 1 — Select the Image
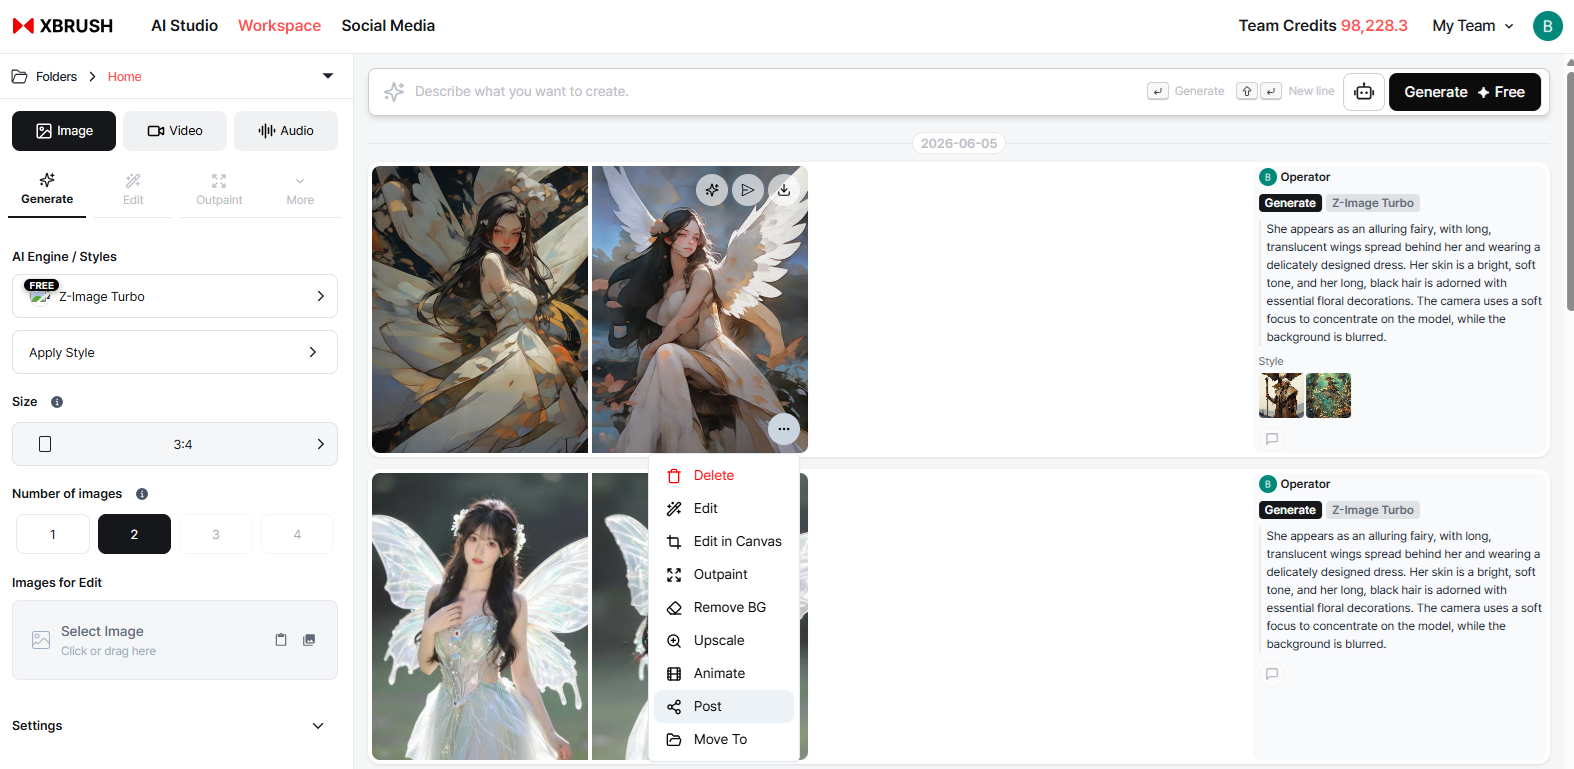
Select an image to publish from the generation screen.
There are two ways to start a publish request:
- Single image: Hover over the image — a Publish action icon appears at the top. Click it to open the publish popup for that image.
- Multiple images: Click Select to Publish at the top of the generation screen to select several images at once, then submit them all together.
Step 2 — Fill in Publish Details
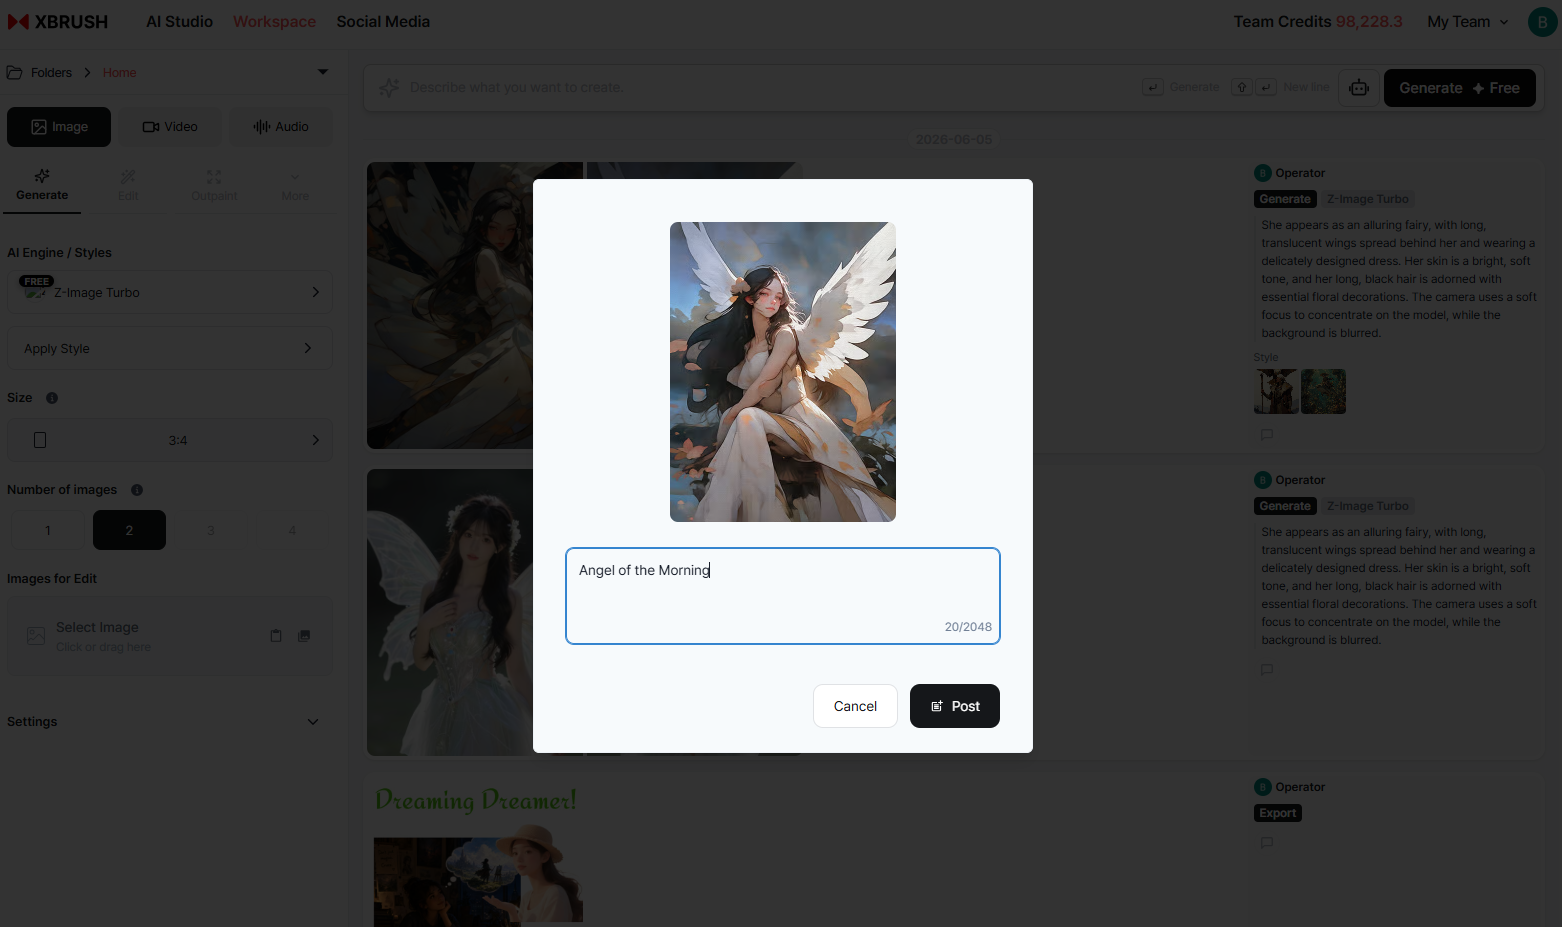
Add a description, category, and tags before submitting.
In the publish popup:
- Description — Write a brief caption or context for the image.
- Category — Select the most relevant category for your image.
- Tags — Add tags to help other users find your image through search.
Click Publish to submit the request. The image immediately enters the review queue with a status of Under Review.
Step 3 — Admin Review

The image is submitted and enters the review queue.
An administrator reviews the image against XBRUSH's content guidelines. Reviews typically complete within 24 hours.
Images may be rejected for:
- Explicit, violent, or otherwise prohibited content
- Infringement of third-party portrait rights or trademarks
- Deepfake content depicting real, identifiable individuals
- Heavily watermarked or very low quality images
If approved → status changes to Published (visible in the gallery). If rejected → status changes to Publication Held (you can revise and resubmit).
Checking Review Status
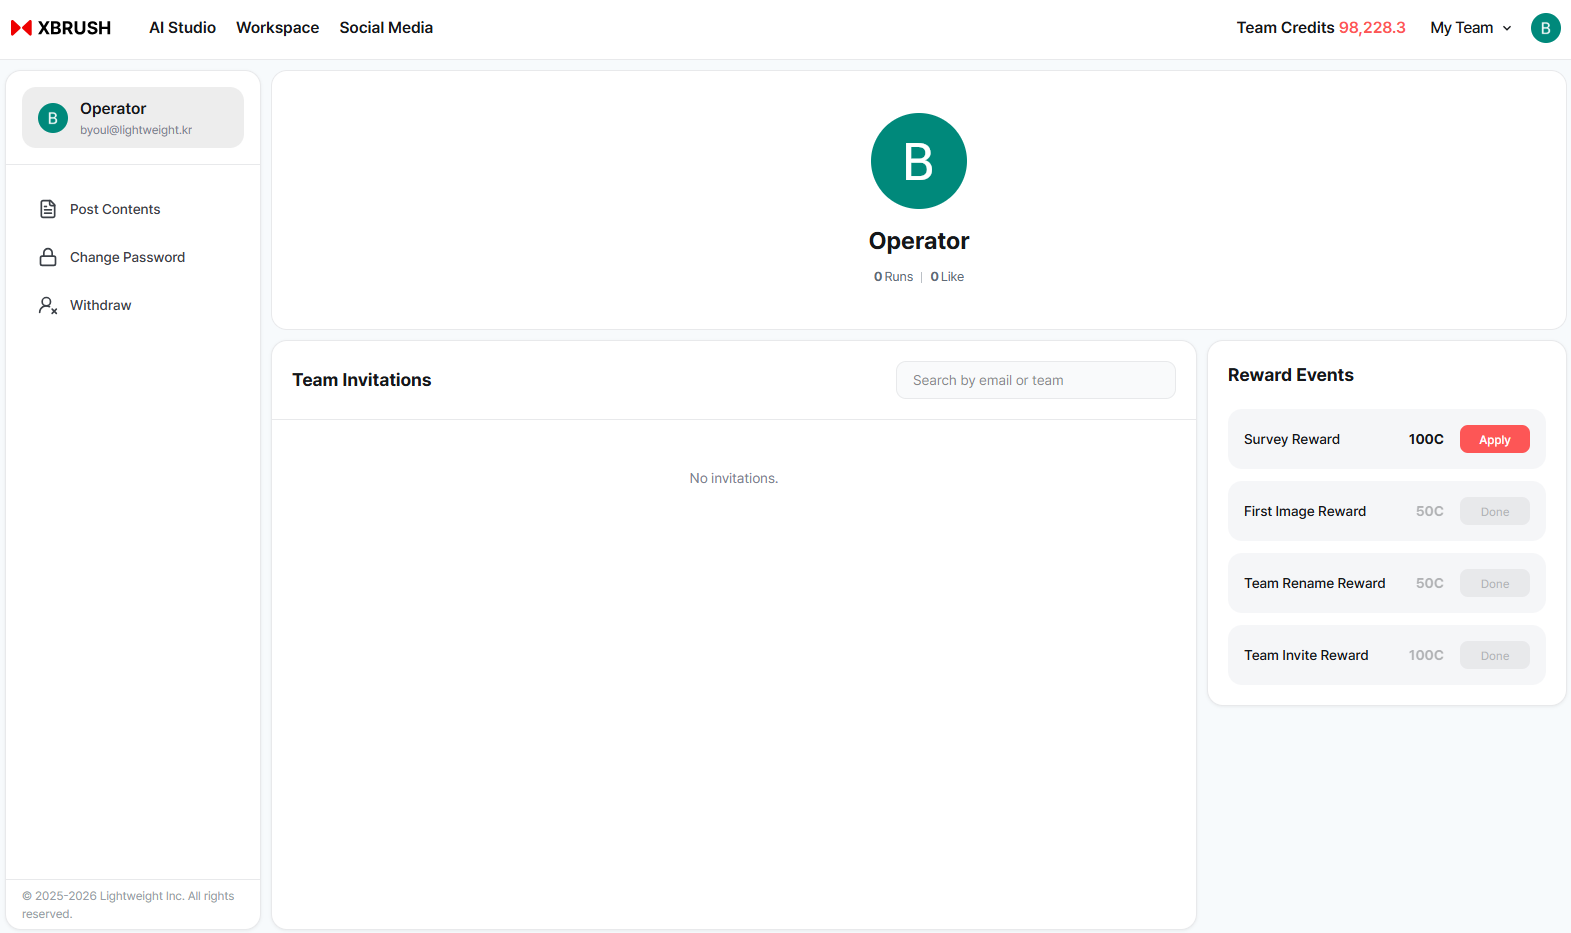
Check review status from the Published Content section on your profile page.
Go to your profile page → Published Content tab. Images are grouped by status:
| Status | Meaning |
|---|---|
| Published | Approved and visible in the gallery |
| Under Review | Awaiting admin review |
| Publication Held | Rejected — available for revision and resubmission |
For full details on managing your profile and publication statuses, see My Profile.
Deleting a Published Image
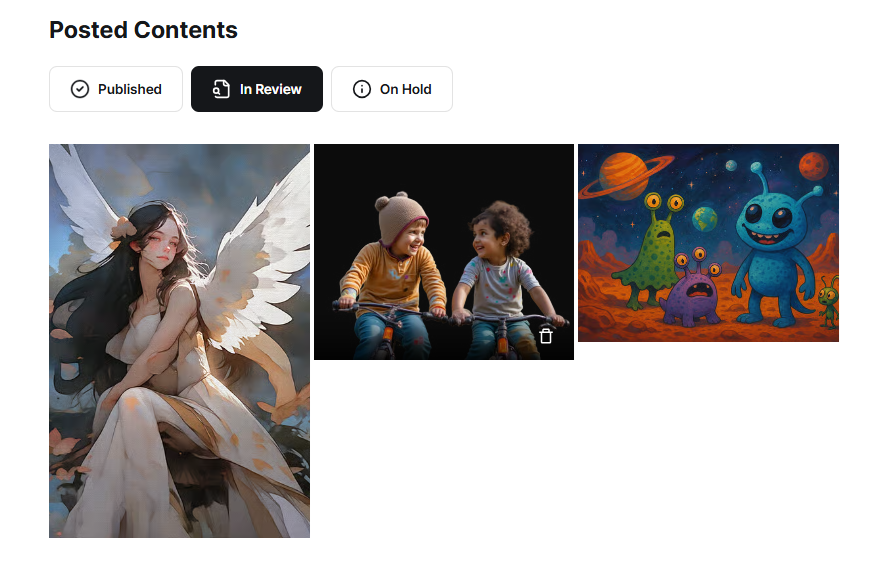
Hover over a published image to reveal the delete option.
To remove an image from the gallery:
- Go to your profile page → Published Content tab.
- Hover over the image — a trash icon appears at the bottom.
- Click the trash icon to unpublish and remove the image.
Deleted images are immediately removed from the public gallery.
Gallery
Published images from all users appear in the XBRUSH Gallery.
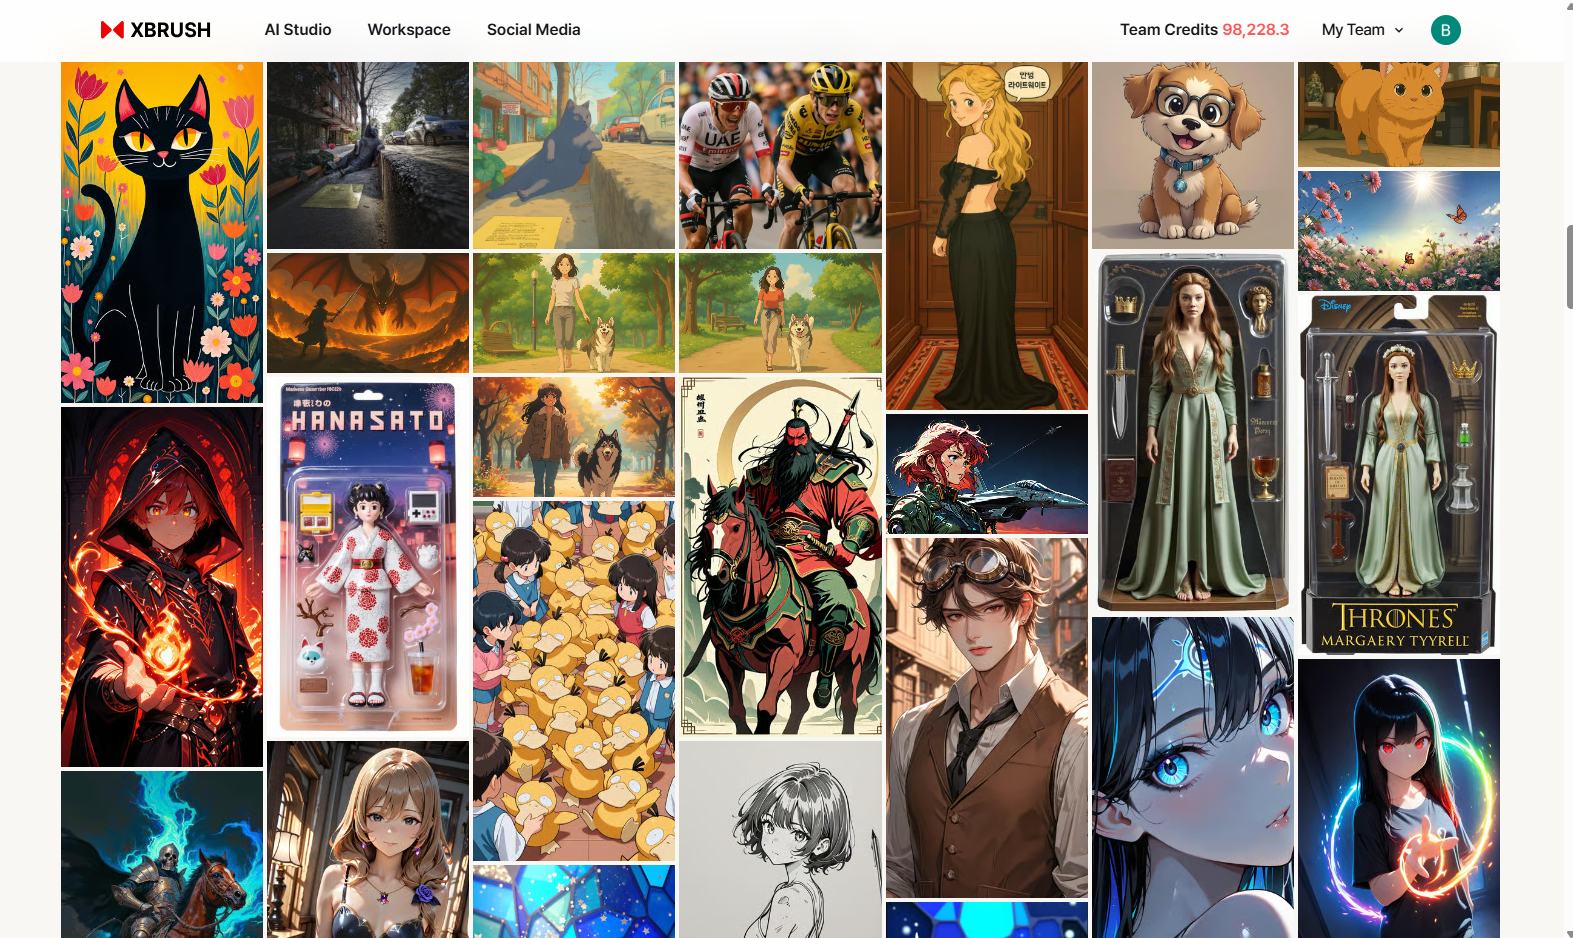
XBRUSH Gallery — browse community-created images and imitate styles you like.
- Browse the gallery to discover images created by other users.
- Click any image to open the full detail view, including the prompt and settings used.
- Use the "Imitate" button on any gallery image to regenerate a similar image using the same style and generation settings.
- Images in the gallery are searchable by tags and categories.