Cinema
Summary: Cinema creates premium cinematic advertisement videos using curated narrative templates. Select a template, review the persona and script, generate an AI reference image, and produce — or fine-tune in the timeline editor.
What is Cinema?
Cinema is Ad Studio's cinematic ad production feature. Each template comes with its own narrative title, script, and visual style. Select a template, confirm the assigned AI persona, generate a reference image to guide the AI, and produce a polished advertisement ready for campaigns.
Step 1 — Browse and Select a Template
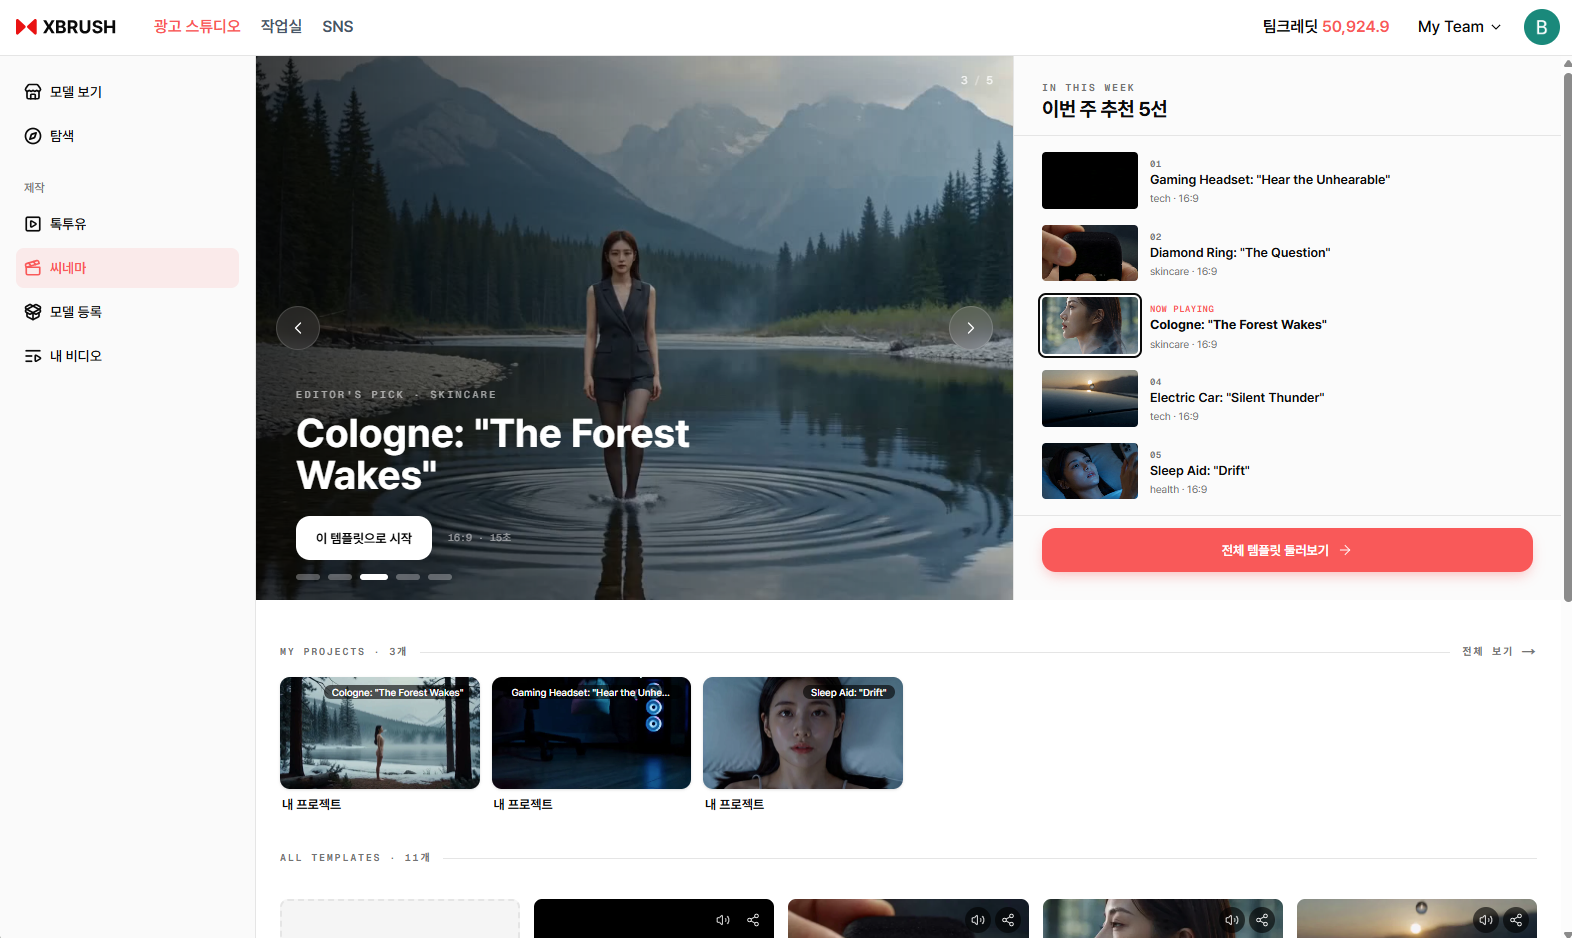
Cinema home — a featured template is displayed prominently with this week's top 5 recommendations on the right.
- Click Cinema (씨네마) in the left sidebar.
- The gallery opens with a featured cinematic template in the center.
- Browse the 이번 주 추천 5선 (This Week's Top 5) panel on the right for curated picks.
- Scroll down to explore additional template cards.
- Click a template or 이 템플릿으로 만들기 to open its detail view.
Step 2 — Review Persona and Script
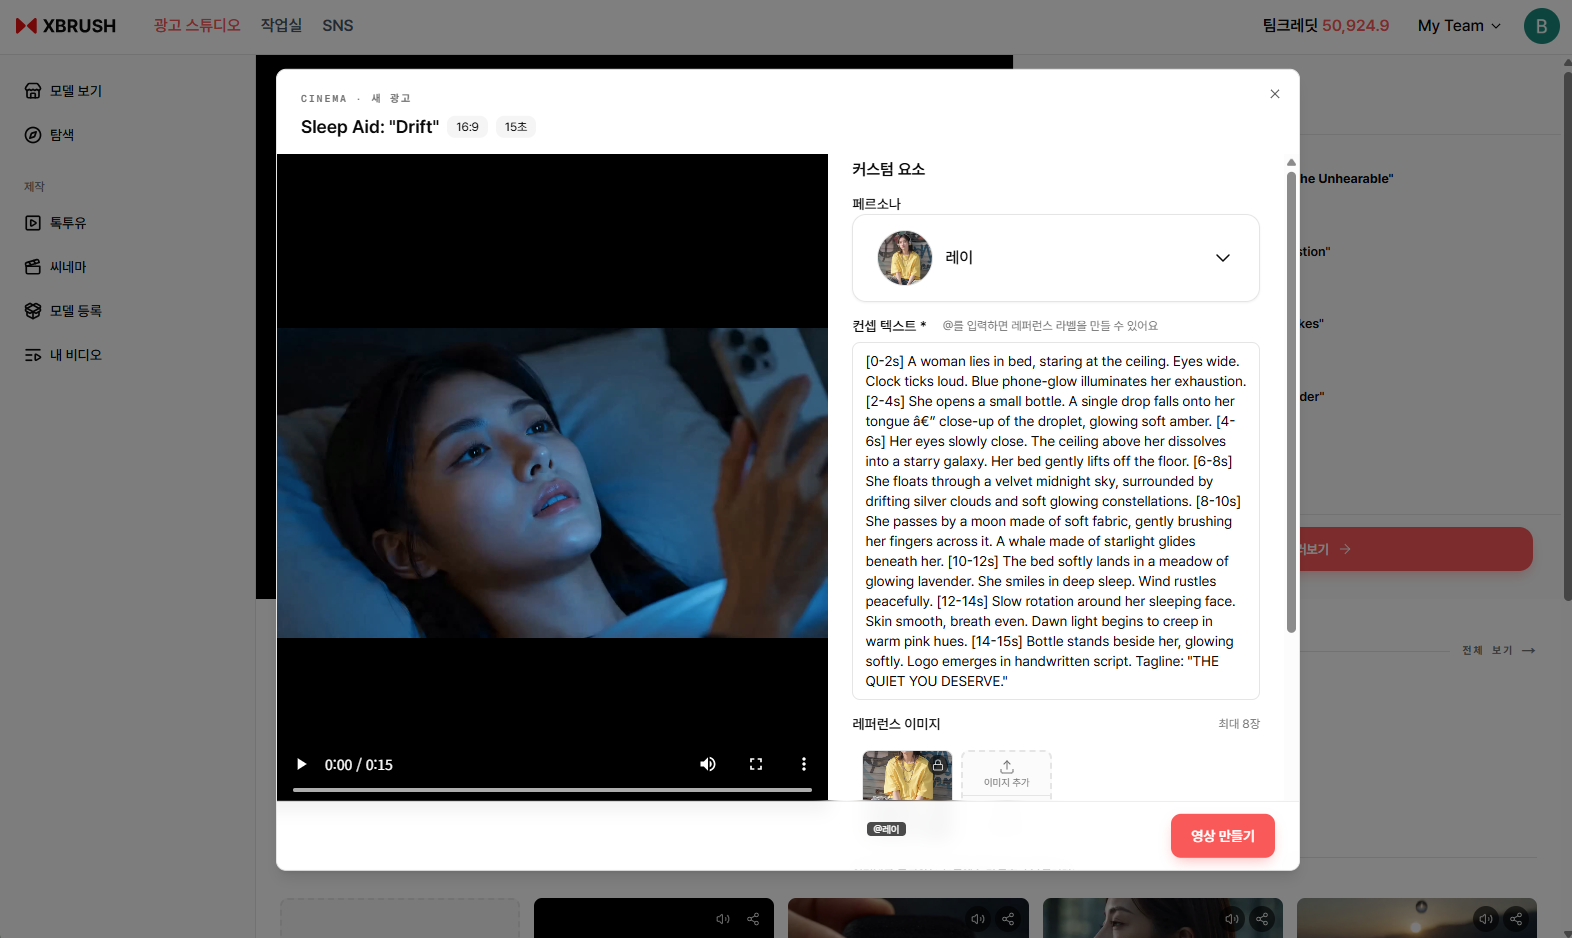
Template detail — the left panel previews the video; the right panel shows the persona and narrative script.
In the template detail view:
- The left panel plays a preview of the template video.
- The right panel shows the assigned persona and the full narrative script for the template.
- Review the script to confirm the tone and messaging match your intent.
- Select the desired duration (e.g., 16:9, 15초) if multiple options are available.
- Click 영상 만들기 to proceed to the AI reference image step.
Step 3 — Generate an AI Reference Image
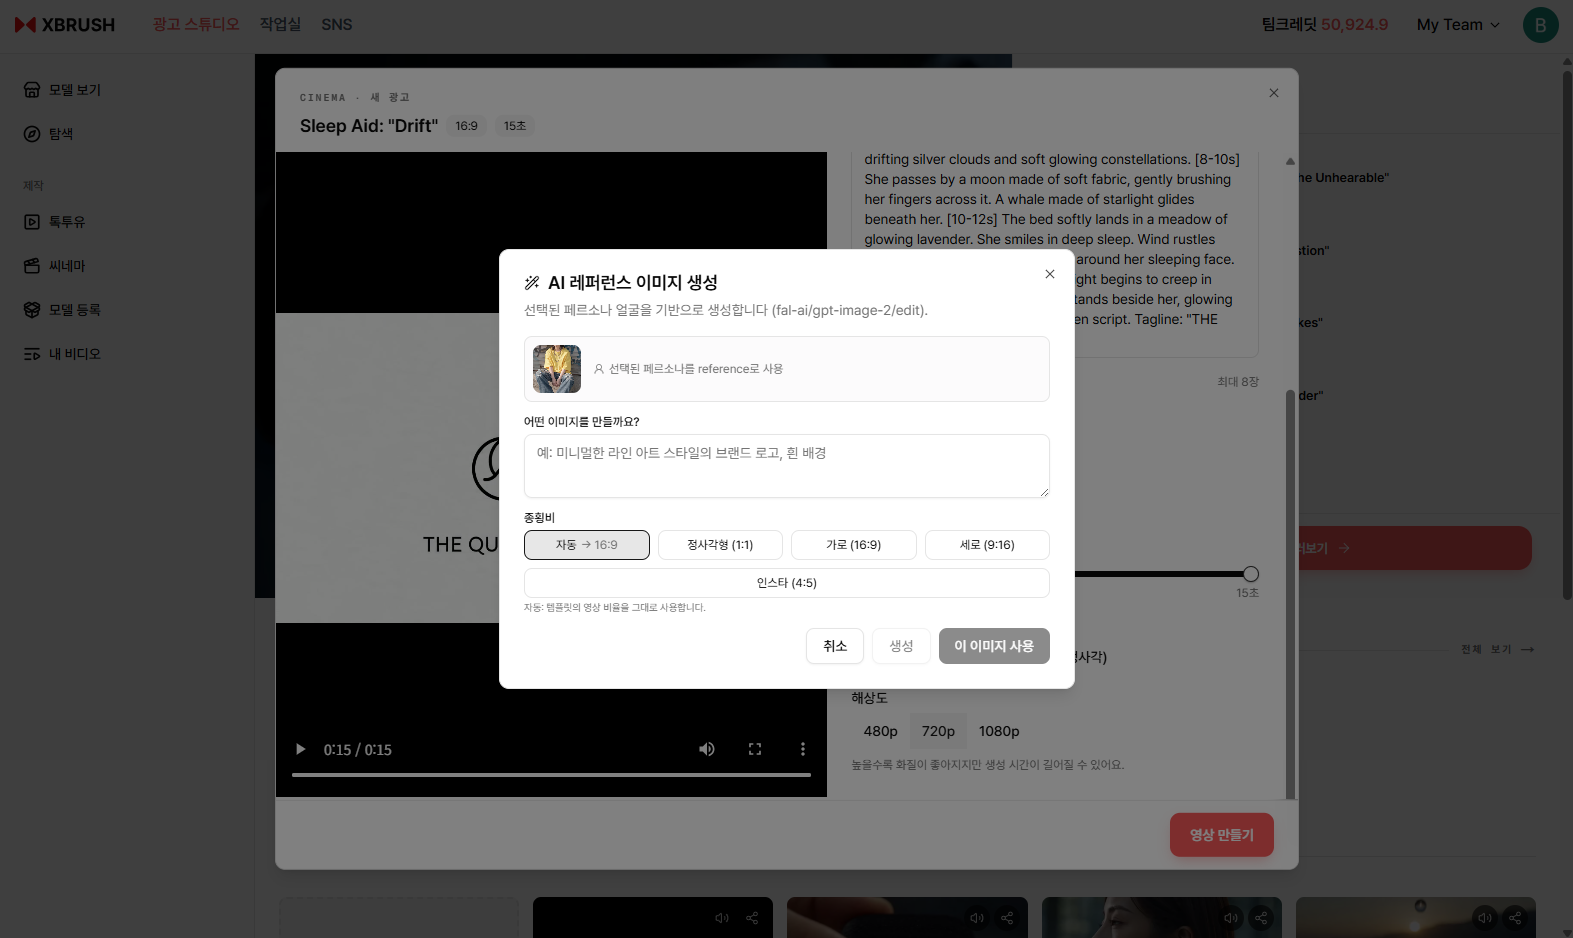
AI 레퍼런스 이미지 생성 dialog — describe the desired scene style to guide video generation.
After clicking 영상 만들기, the AI 레퍼런스 이미지 생성 dialog appears:
- The selected persona's face is used as the generation base (powered by fal-ai).
- In the 이런 이미지를 만들까요? field, enter a prompt describing the visual style or scene (e.g., "미니멀한 라인 아트 스타일의 브랜드 로고, 흰 배경").
- Choose an aspect ratio: 자동, 정사각형 (1:1), 가로 (16:9), 세로 (9:16), or 인스타 (4:5).
- Click 이 이미지 사용 to confirm the reference image and begin video generation.
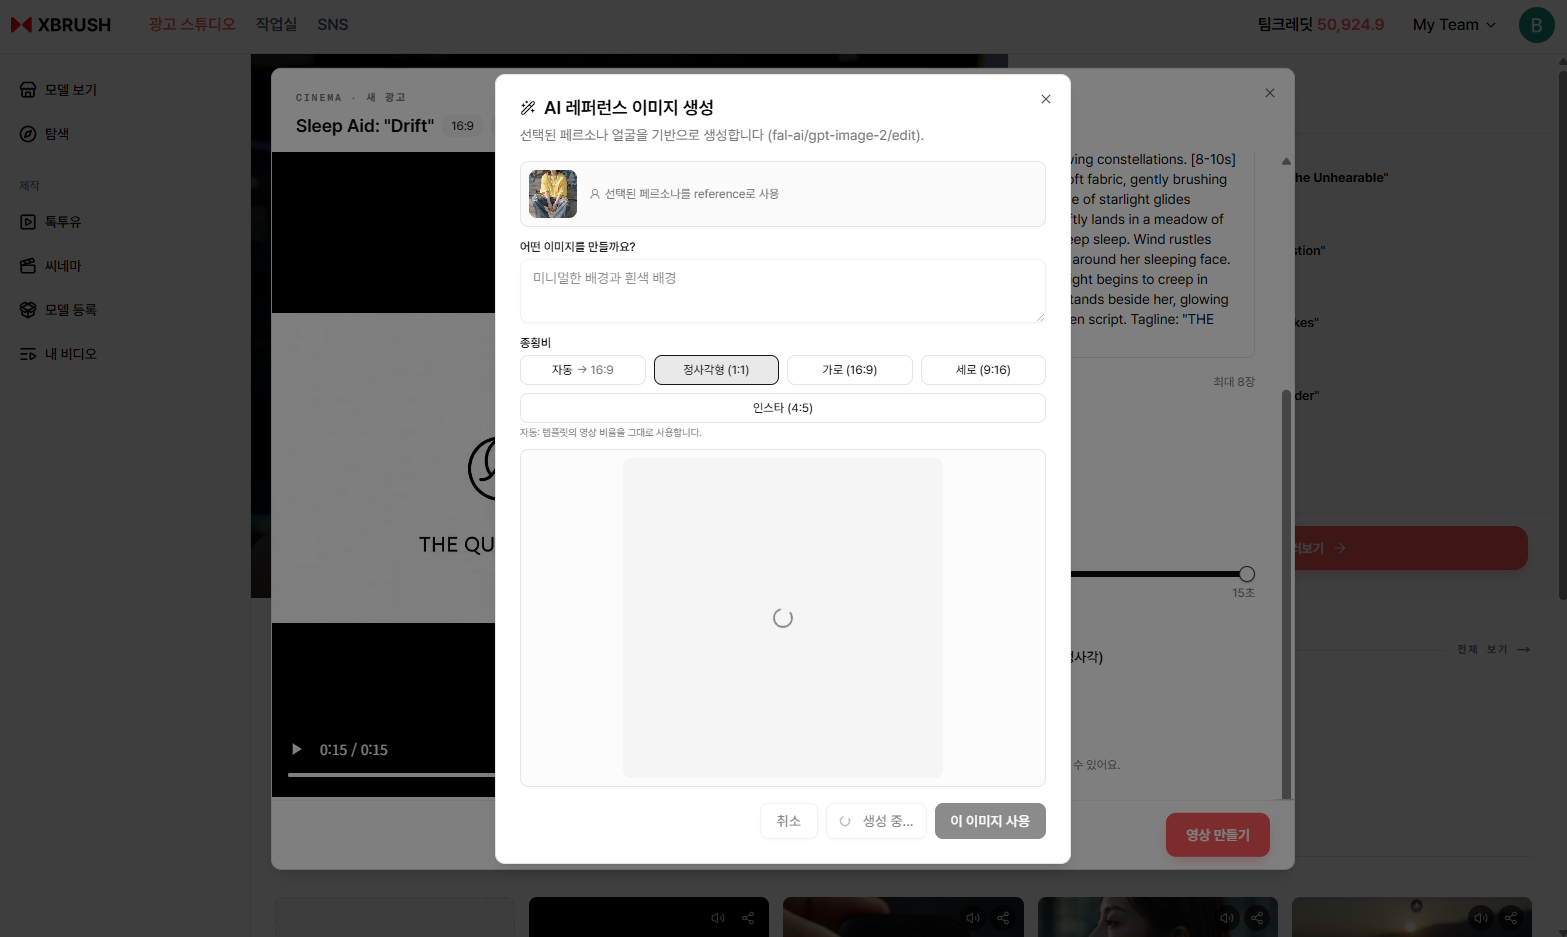
The AI is generating the reference image — the preview area shows a loading spinner until the image is ready.
Step 4 — Edit in the Timeline Editor
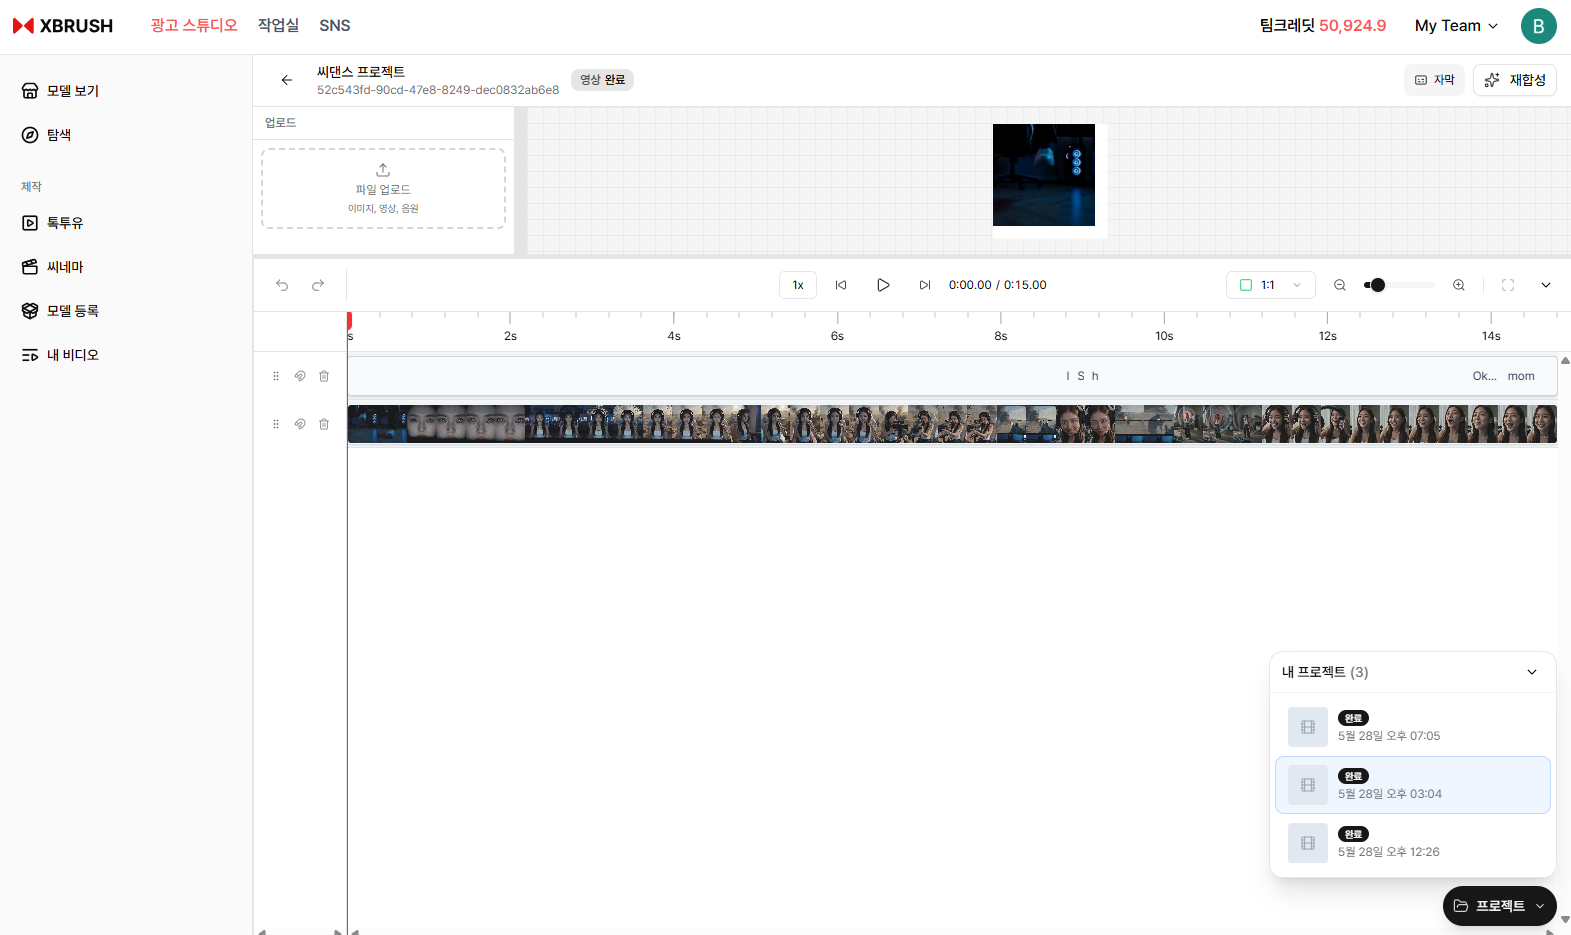
The video timeline editor — clips are displayed on the timeline with upload and project panels on each side.
After the video is generated, it opens automatically in the Timeline Editor:
- The top bar shows the project name and provides 저장 (save) and 재집신 buttons.
- The left panel (작업 업로드) lets you upload additional items, videos, or music to the project.
- The main timeline shows the generated clip with its full duration.
- The right panel (내 프로젝트) lists your recent Cinema projects for quick reference.
- Adjust clips or audio as needed, then export the final video.
Step 5 — View the Result
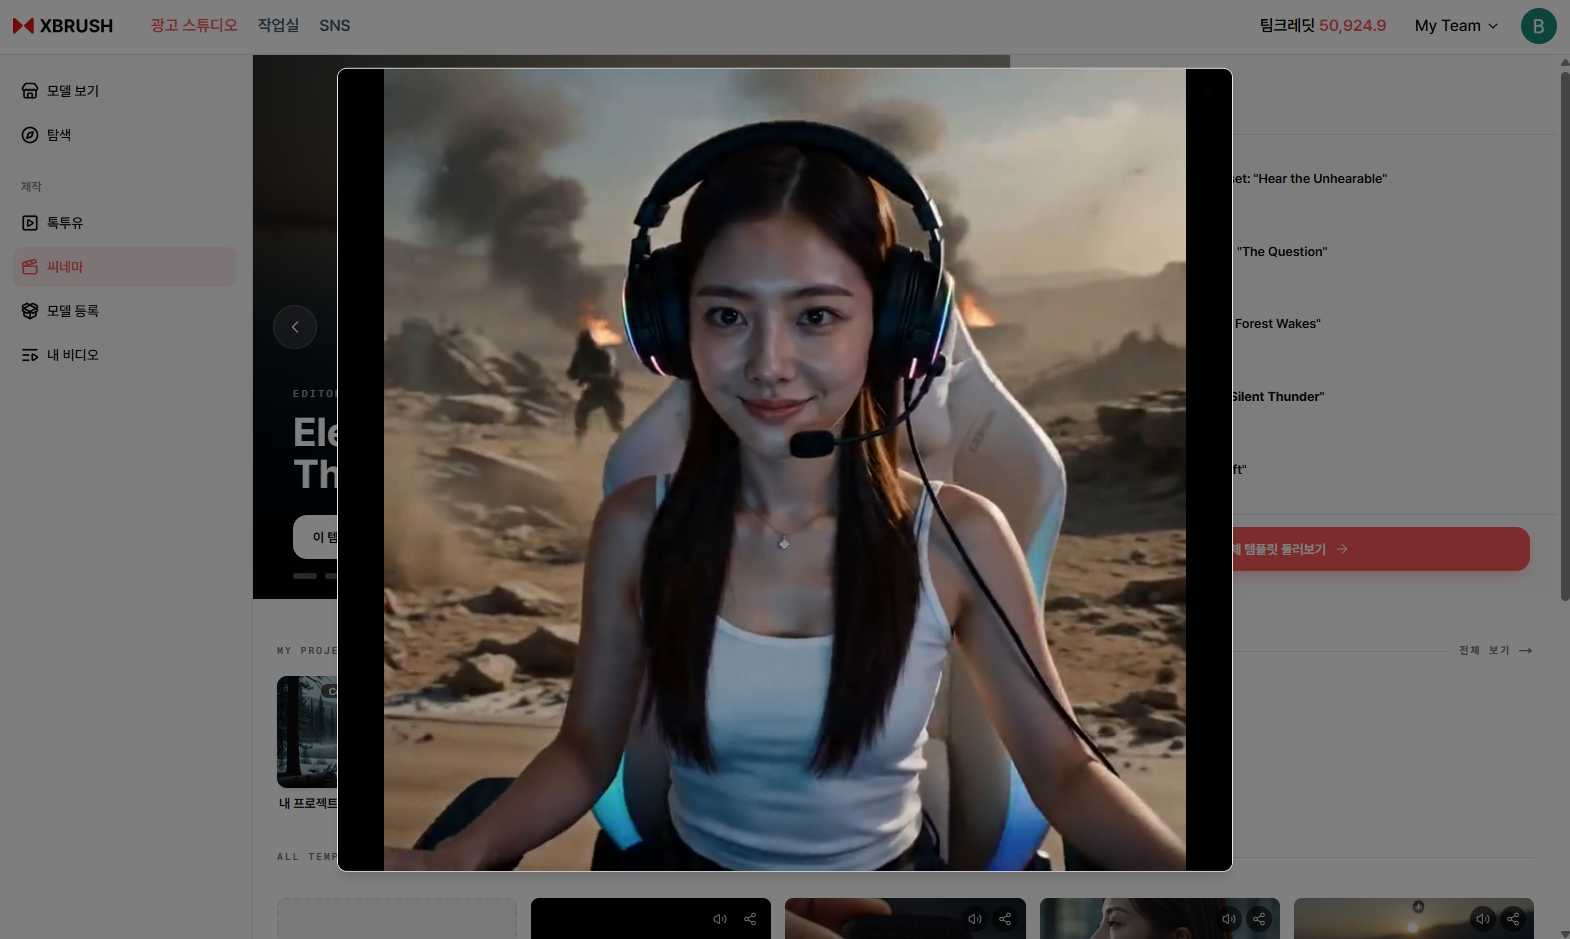
The completed Cinema video plays in the My Videos lightbox.
- The finished video appears in 내 비디오 (My Videos) in the left sidebar.
- Click any video card to open the lightbox player.
- The right panel lists all Cinema videos generated under the current template series.
- Use the download icon to save the video file.
Tips
- Each Cinema template has its own narrative arc — review the script before generating to confirm it fits your brand's message.
- Use the AI reference image prompt to steer the visual style toward your brand aesthetic without altering the template's motion.
- The timeline editor is ideal for adding a background music track or trimming the clip before exporting.