Image Enhancement — Outpaint & Background Removal
Summary: Outpaint is available in the Workspace Image tab → Outpaint sub-tab. Background Removal is available in the Background Remover sub-tab. Both work by uploading an image and clicking Run.
Outpaint (Expand)
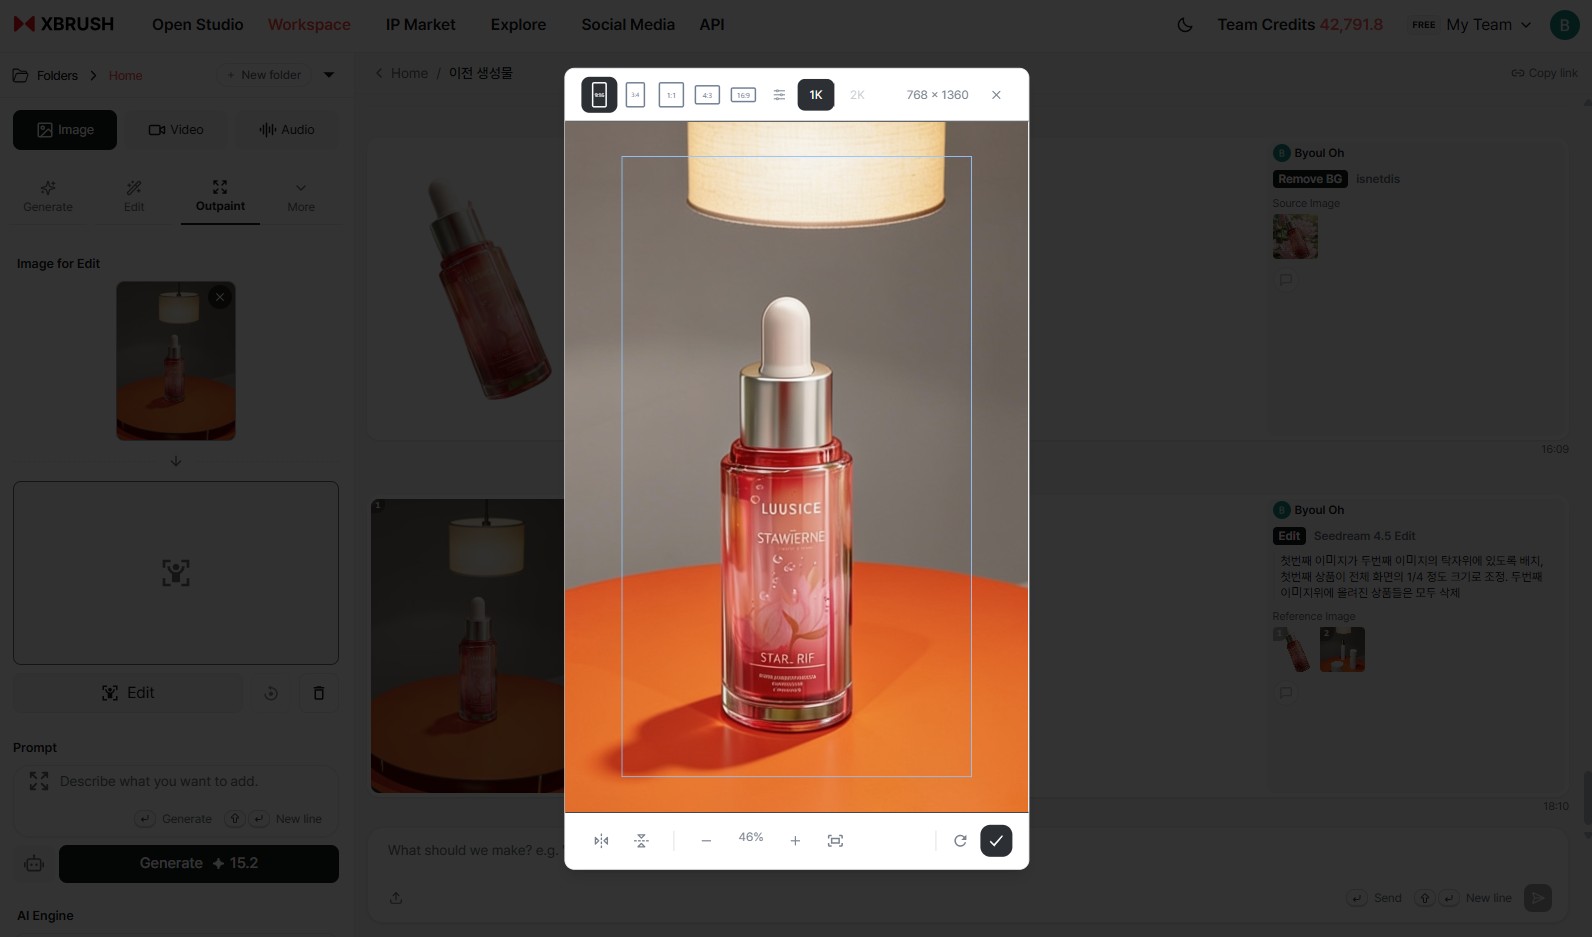
Workspace Image tab → Outpaint tab. Upload an image and define the area to expand.
Outpaint generates new content beyond the edges of the original image. The original image resolution is not changed — new content is drawn around the outside.
How to Use
- In the Workspace, select the Image content type tab, then choose the Outpaint sub-tab.
- Upload an image to the Image to Edit area.
- Click the Edit button to define the expansion area (mask).
- Enter a prompt describing what should appear in the expanded area.
- Configure the options:
| Option | Description |
|---|---|
| Edit | Define the mask for the expansion area |
| Reset Outpaint | Reset the defined expansion area |
| Clear All | Remove the uploaded image |
| AI Engine | Default: Qwen Image Edit |
| Number of Images | 1–4 |
- Click Generate to create the expanded image.
Background Removal
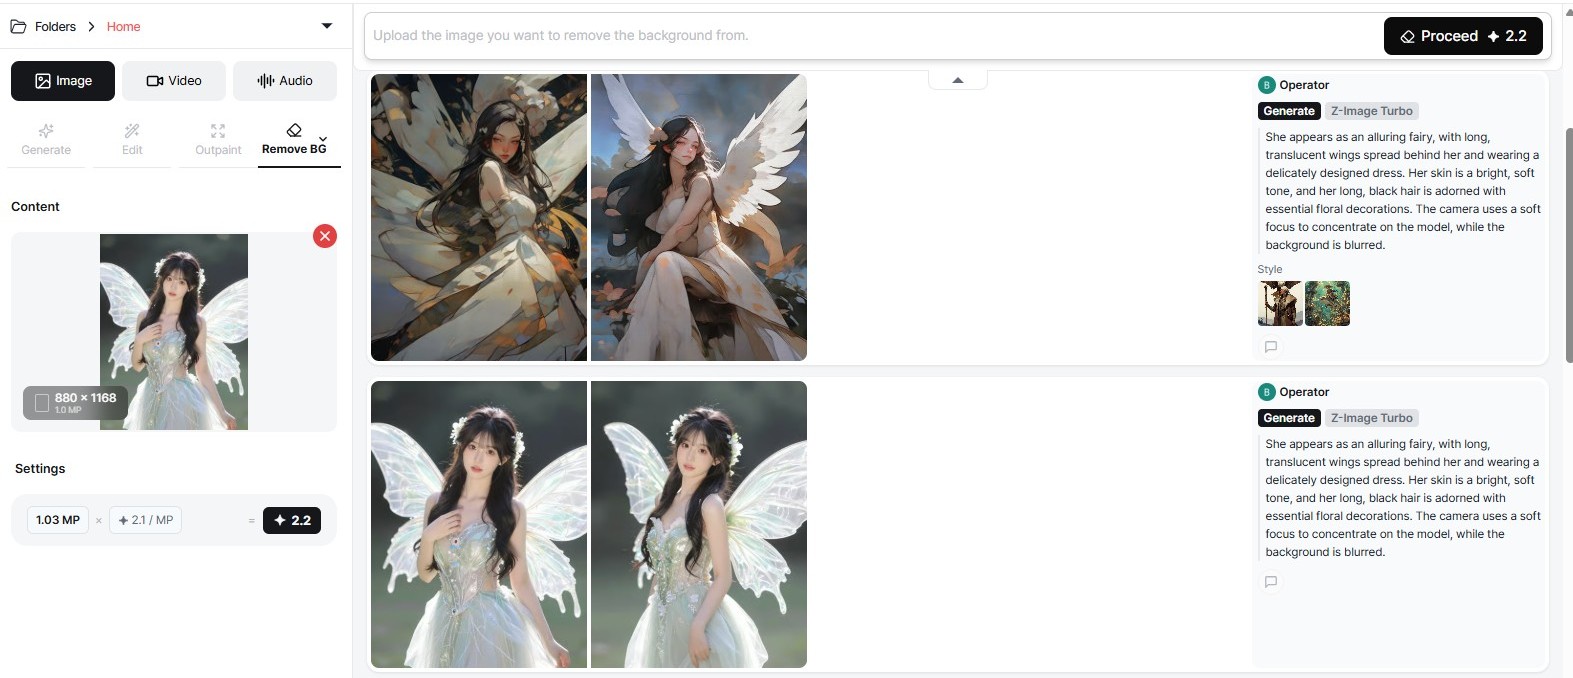
Workspace Image tab → Background Remover tab. Upload an image and click Run to remove the background.
How to Use
- In the Workspace, select the Image content type tab, then choose the Background Remover sub-tab.
- Upload an image to the input area.
- Click Run — the background is removed automatically.
- The result appears in the results feed for download or further use.
Note: Areas you did not intend to remove may also be affected depending on the complexity of the image.
Next Steps
- Editor — Compositing, layers, and caption handling
- Publish Images — Share publicly with guidelines
- Credits & Payment — Check balance, receipts, and billing policy